Wait for a cold day to make this traditional brisket. Eight to ten hours in an oven will warm your house and fill every corner with the aroma of roasting beef. Brisket is a large but inexpensive cut of ultra lean meat with a thin layer of fat on one side. It would be inedible but for a ‘long and low’ braising process that breaks up the meat’s connective tissue and cooks it to tender perfection. Preparation is a multi-day undertaking but don’t let that dissuade you. It’s an easy dish to master and only one pot is used to brine, sear, and roast … so easy cleanup. A simple rub and braising liquid comprised of Mediterranean spices and ingredients creates an earthy flavor you’ll crave long after the leftovers are gone.
Here’s the trick to a perfect cook …
The minimum temperature that collagen breaks down is 140°. Brisket is cooked thoroughly when it reaches an internal temperature of 180°. Basically, the goal is to maximize the length of time the brisket cooks between 140° and 180°. I do this by starting at 300° then, when the meat reaches 140°, cut back the heat to 240° for the remainder of the 8 hours. Once cooking completes remove from the oven and allow it to rest for at least 30 minutes before serving.
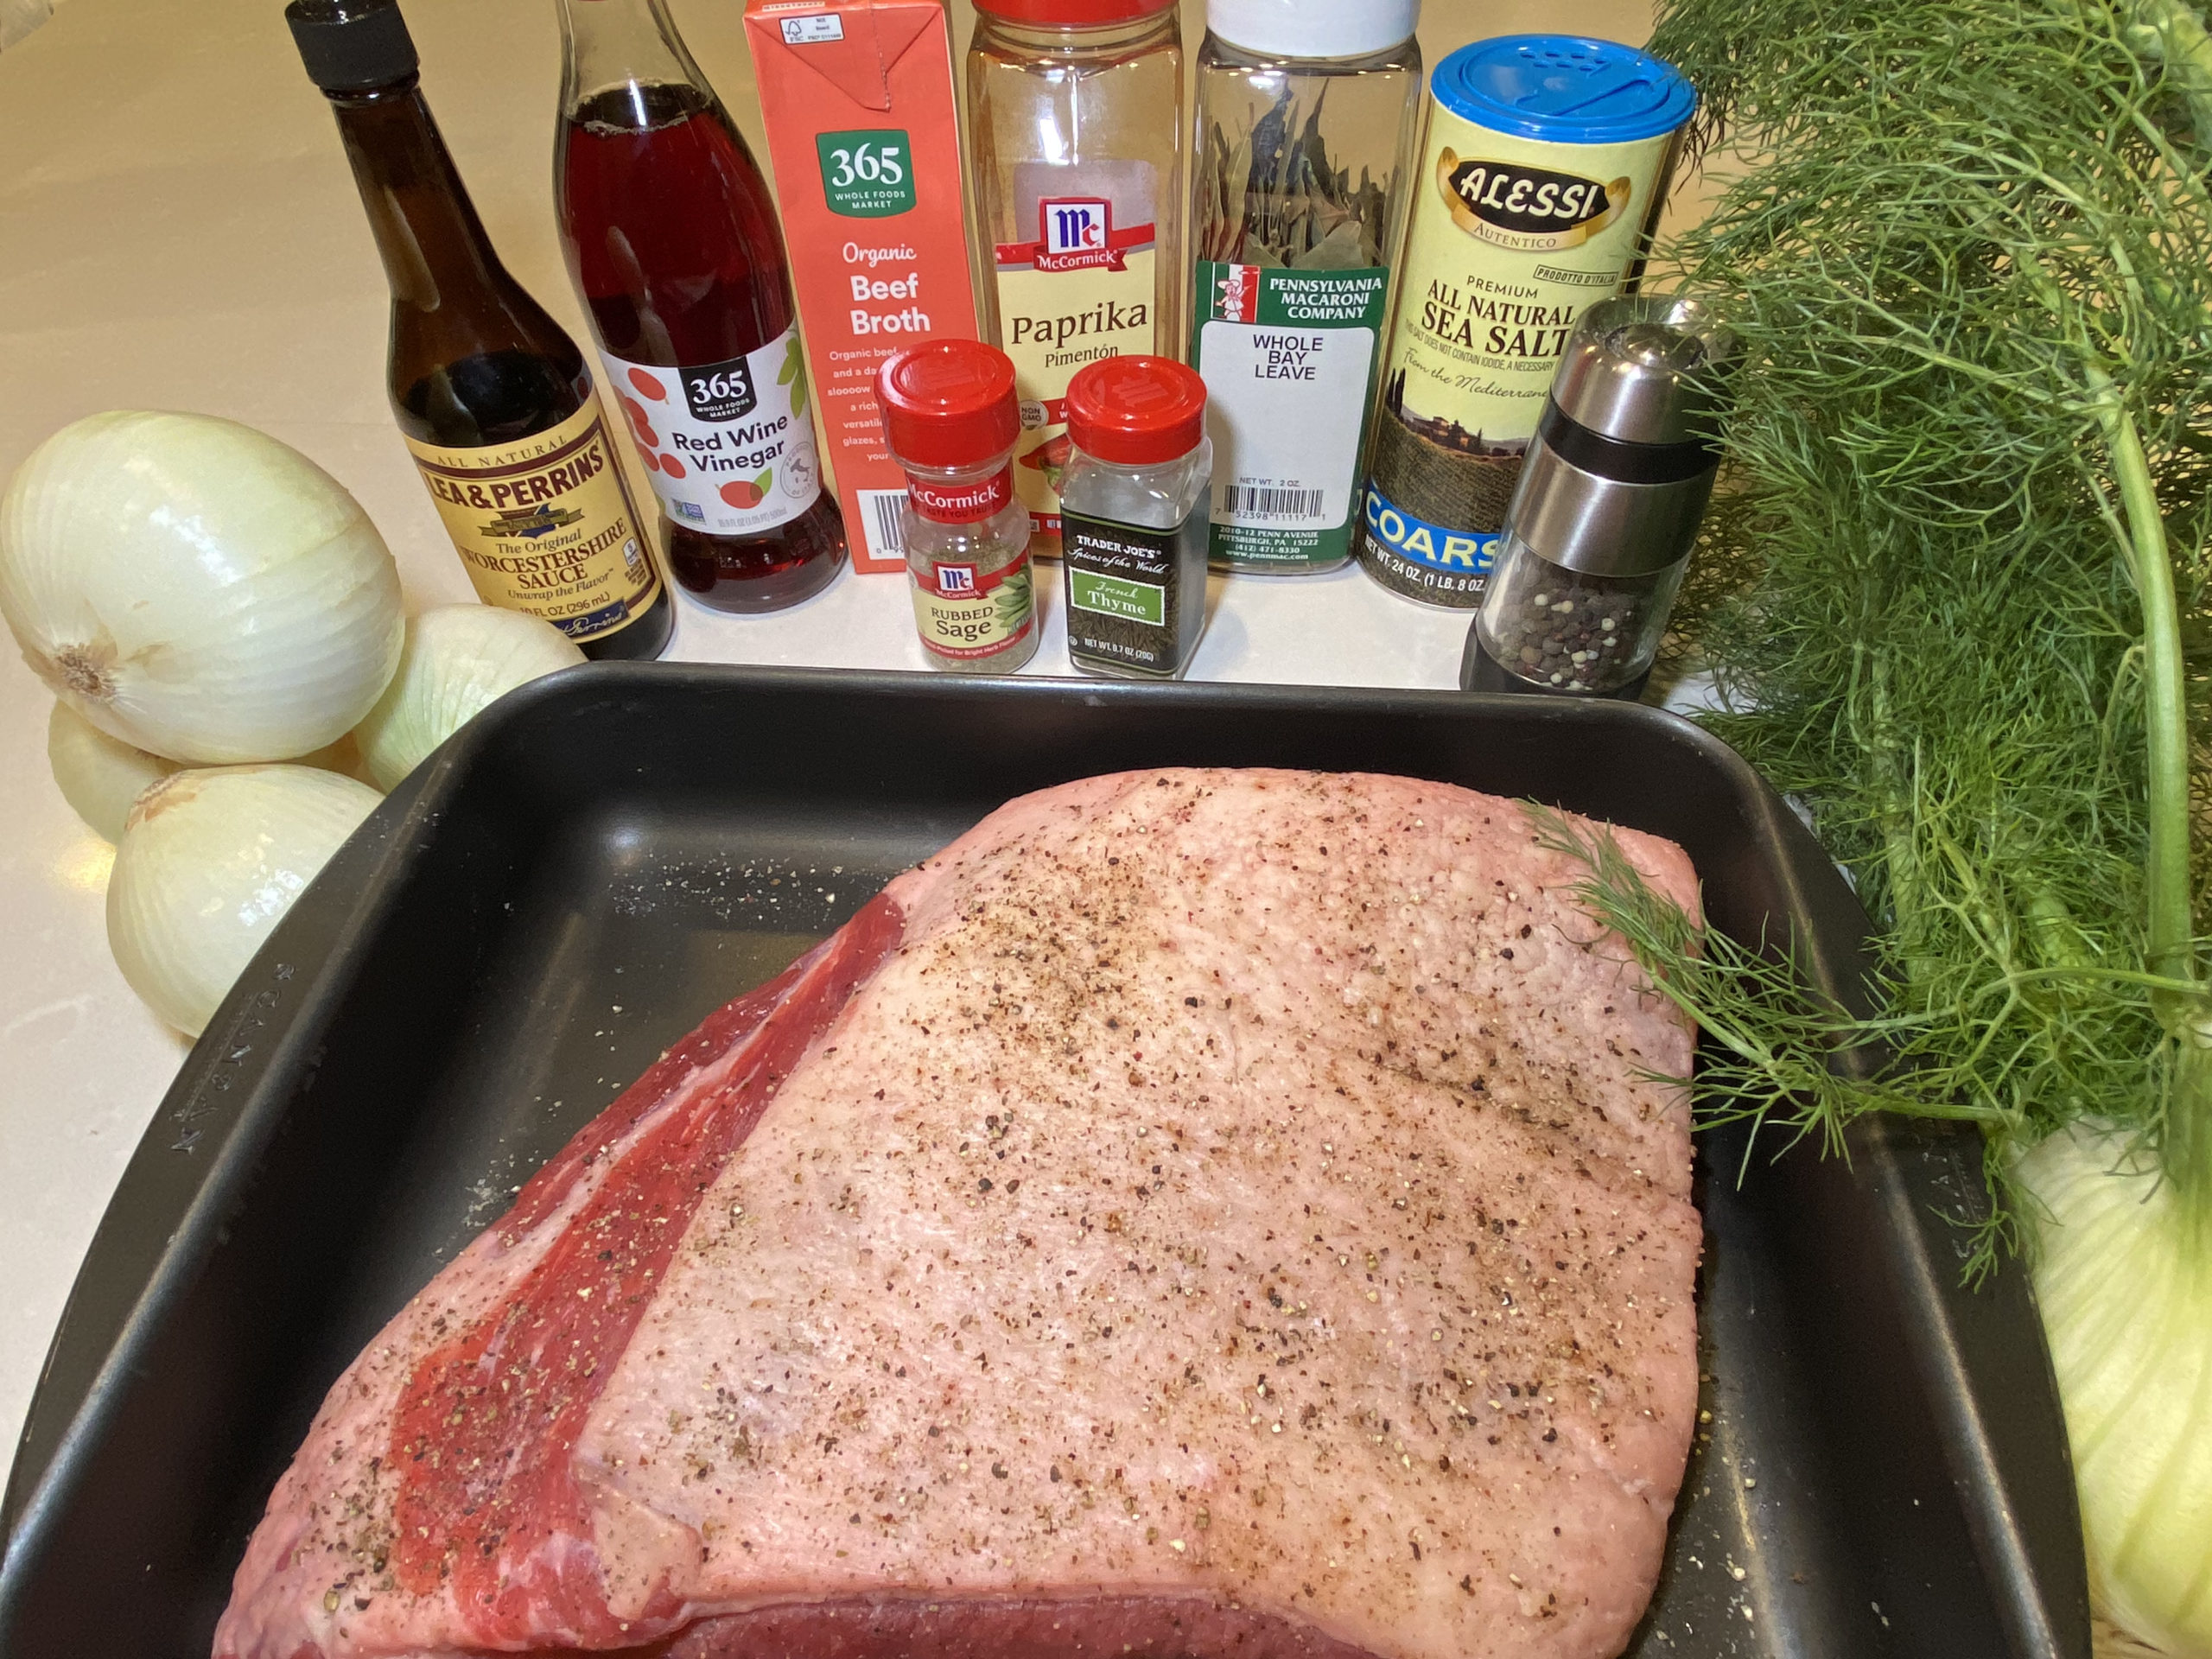
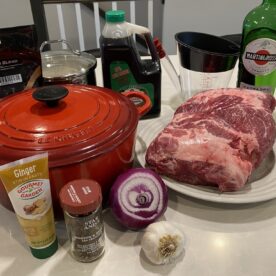
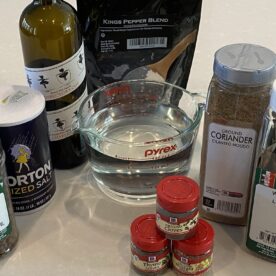
Assemble the ingredients (crushed tomato and Allspice not shown) 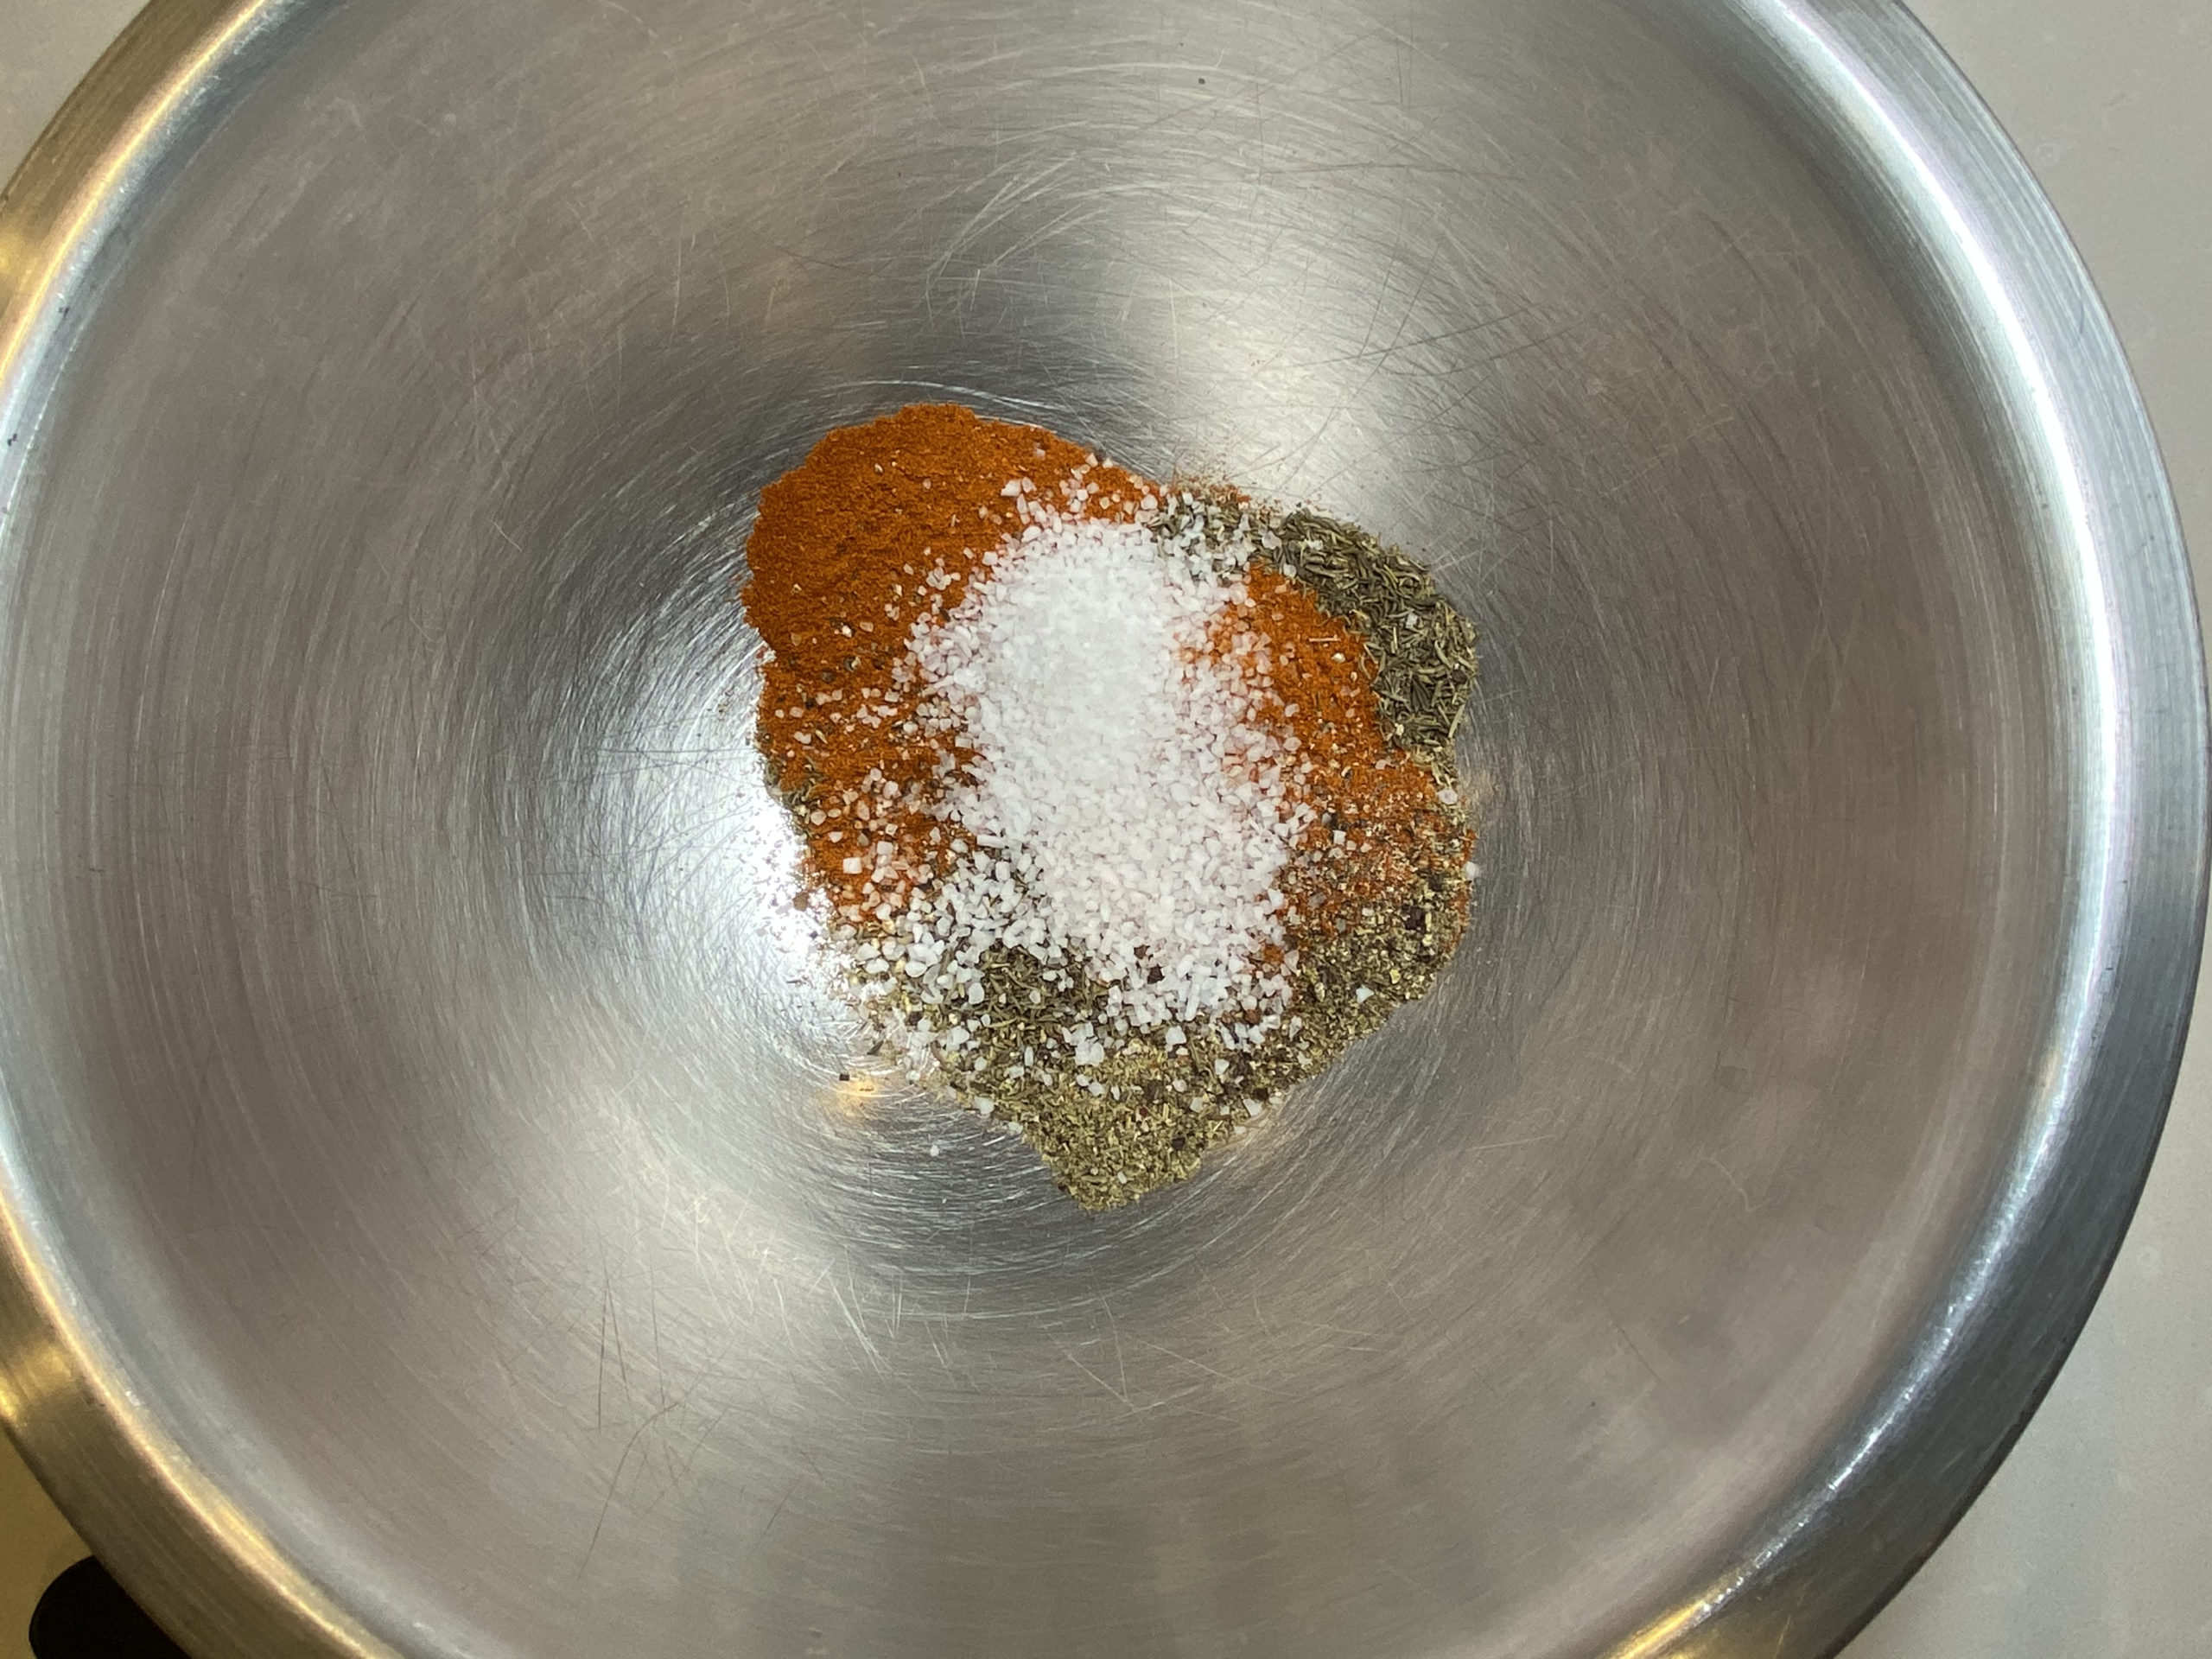
Whisk the rub 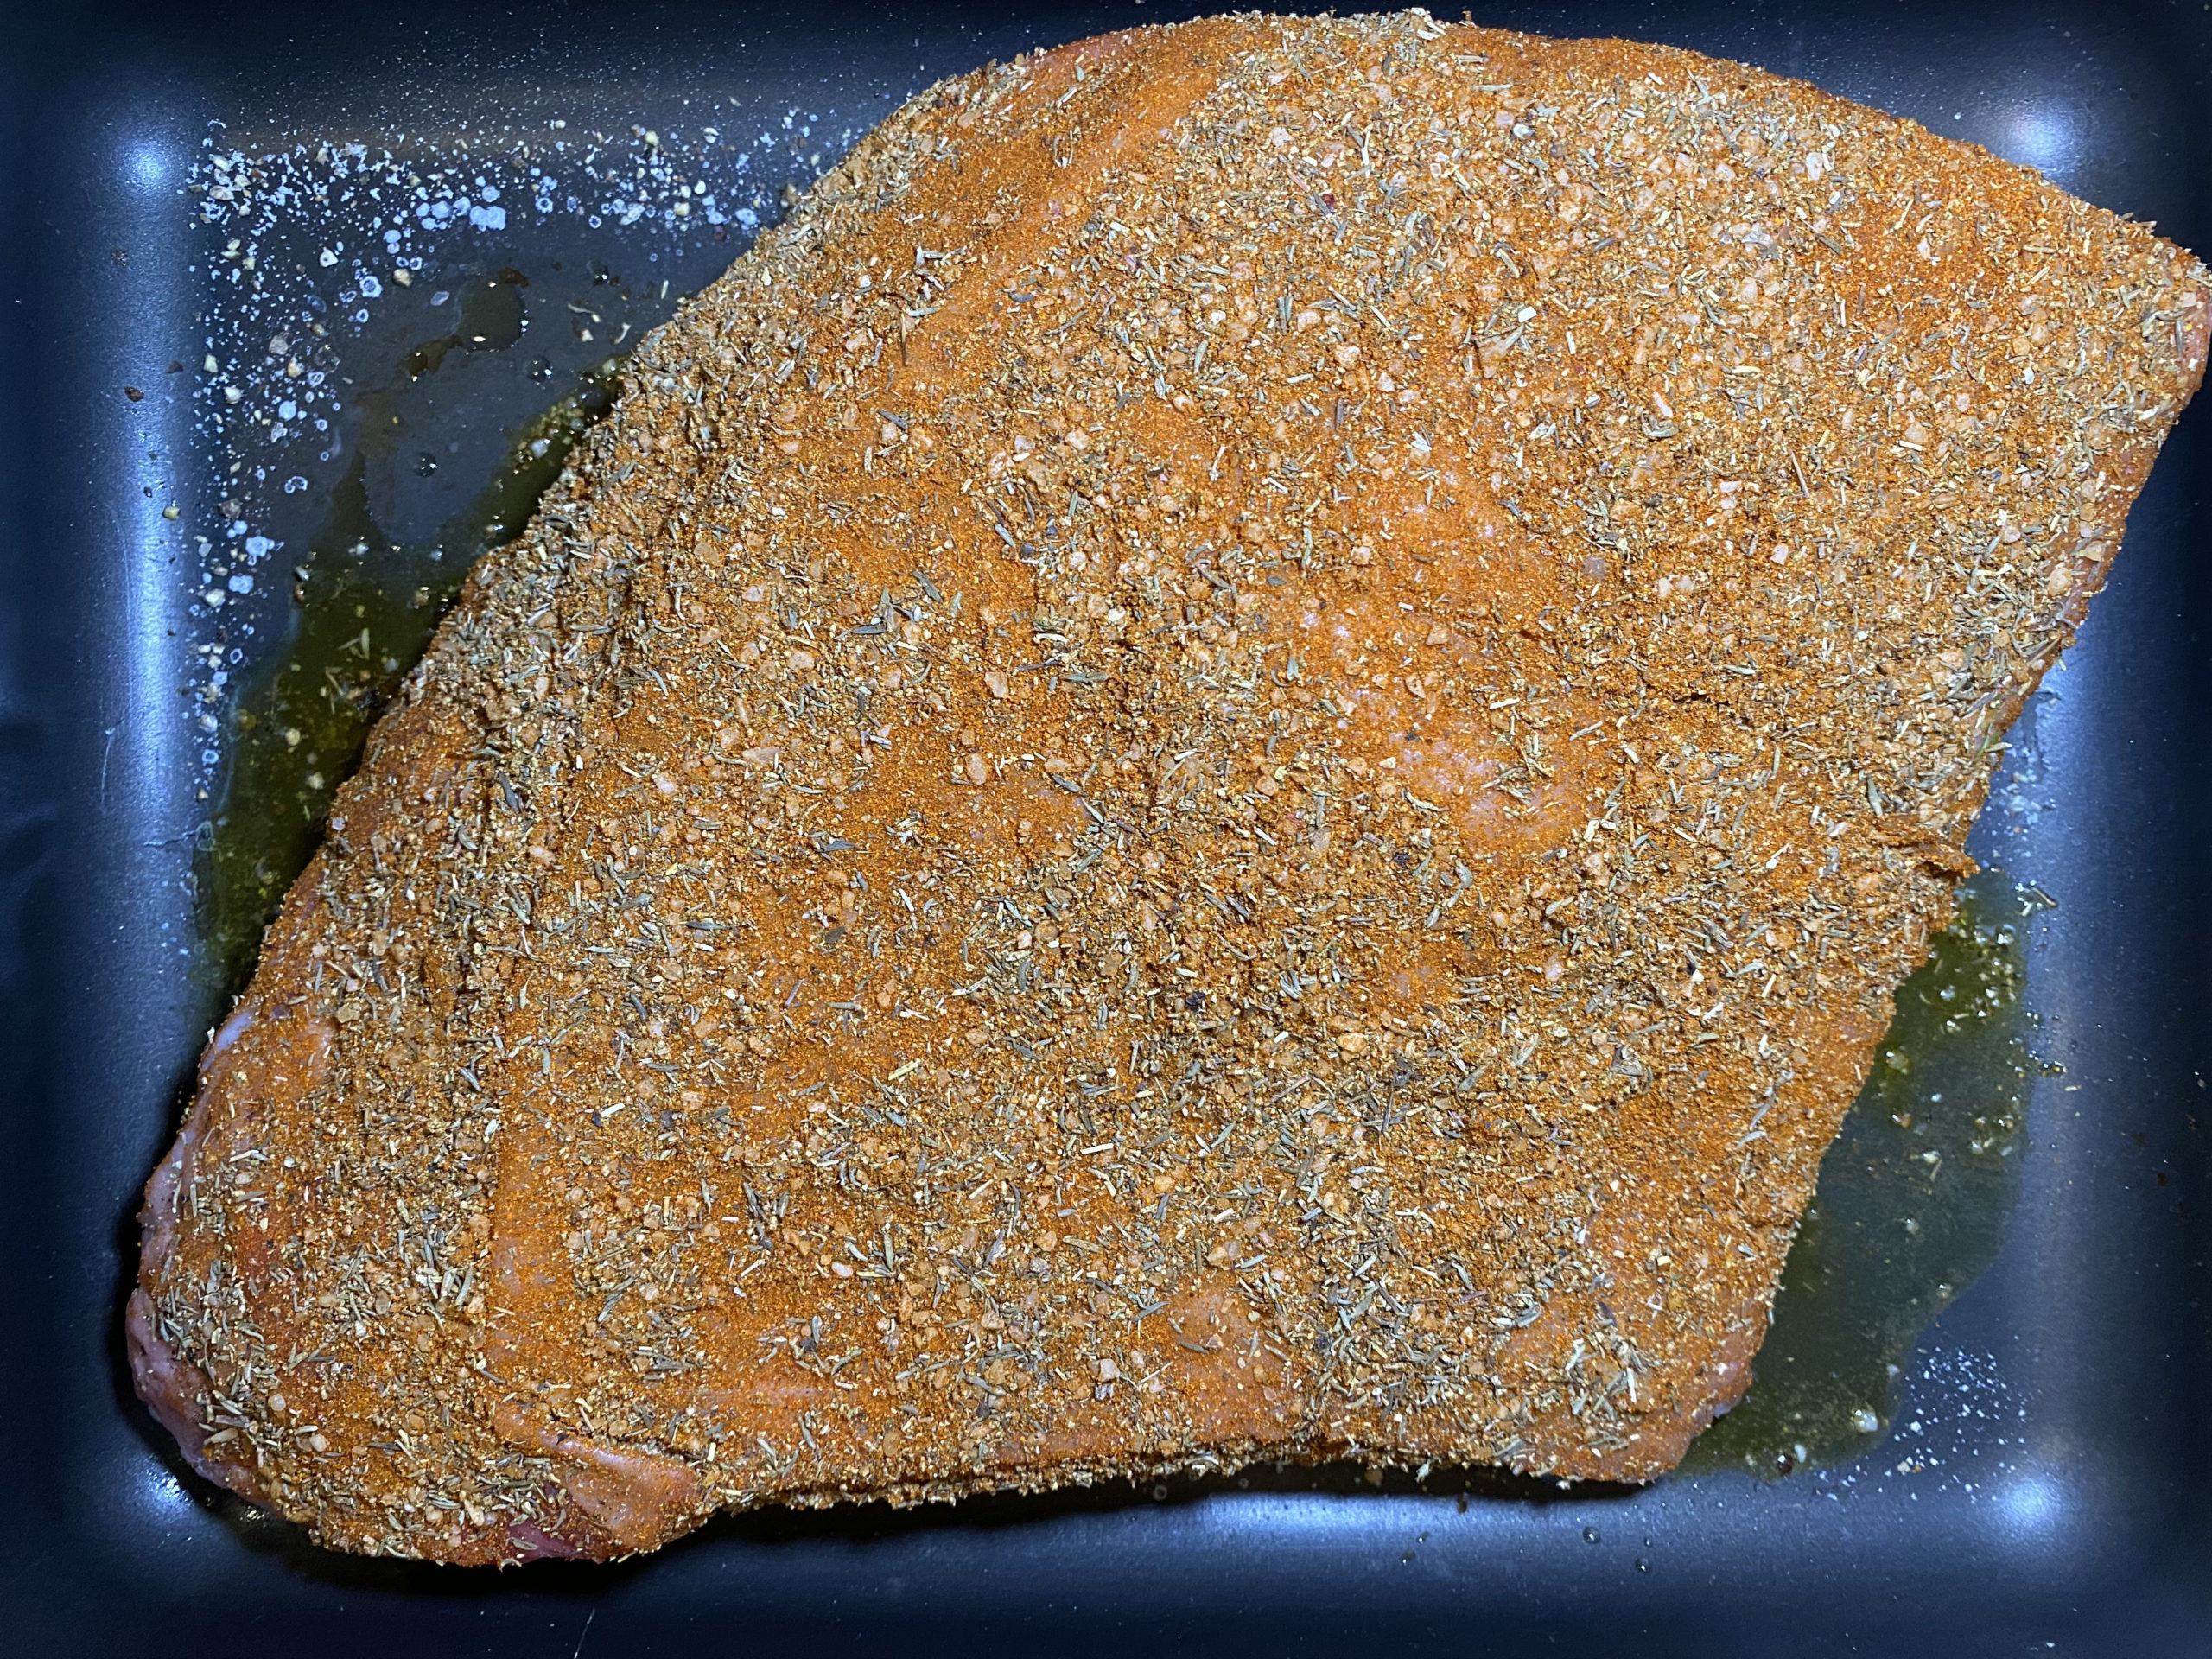
Coat the meat then sear in a SCANPAN roasting pan 
Remove and rest on a baking sheet 
Cook the onions in the still-hot SCANPAN 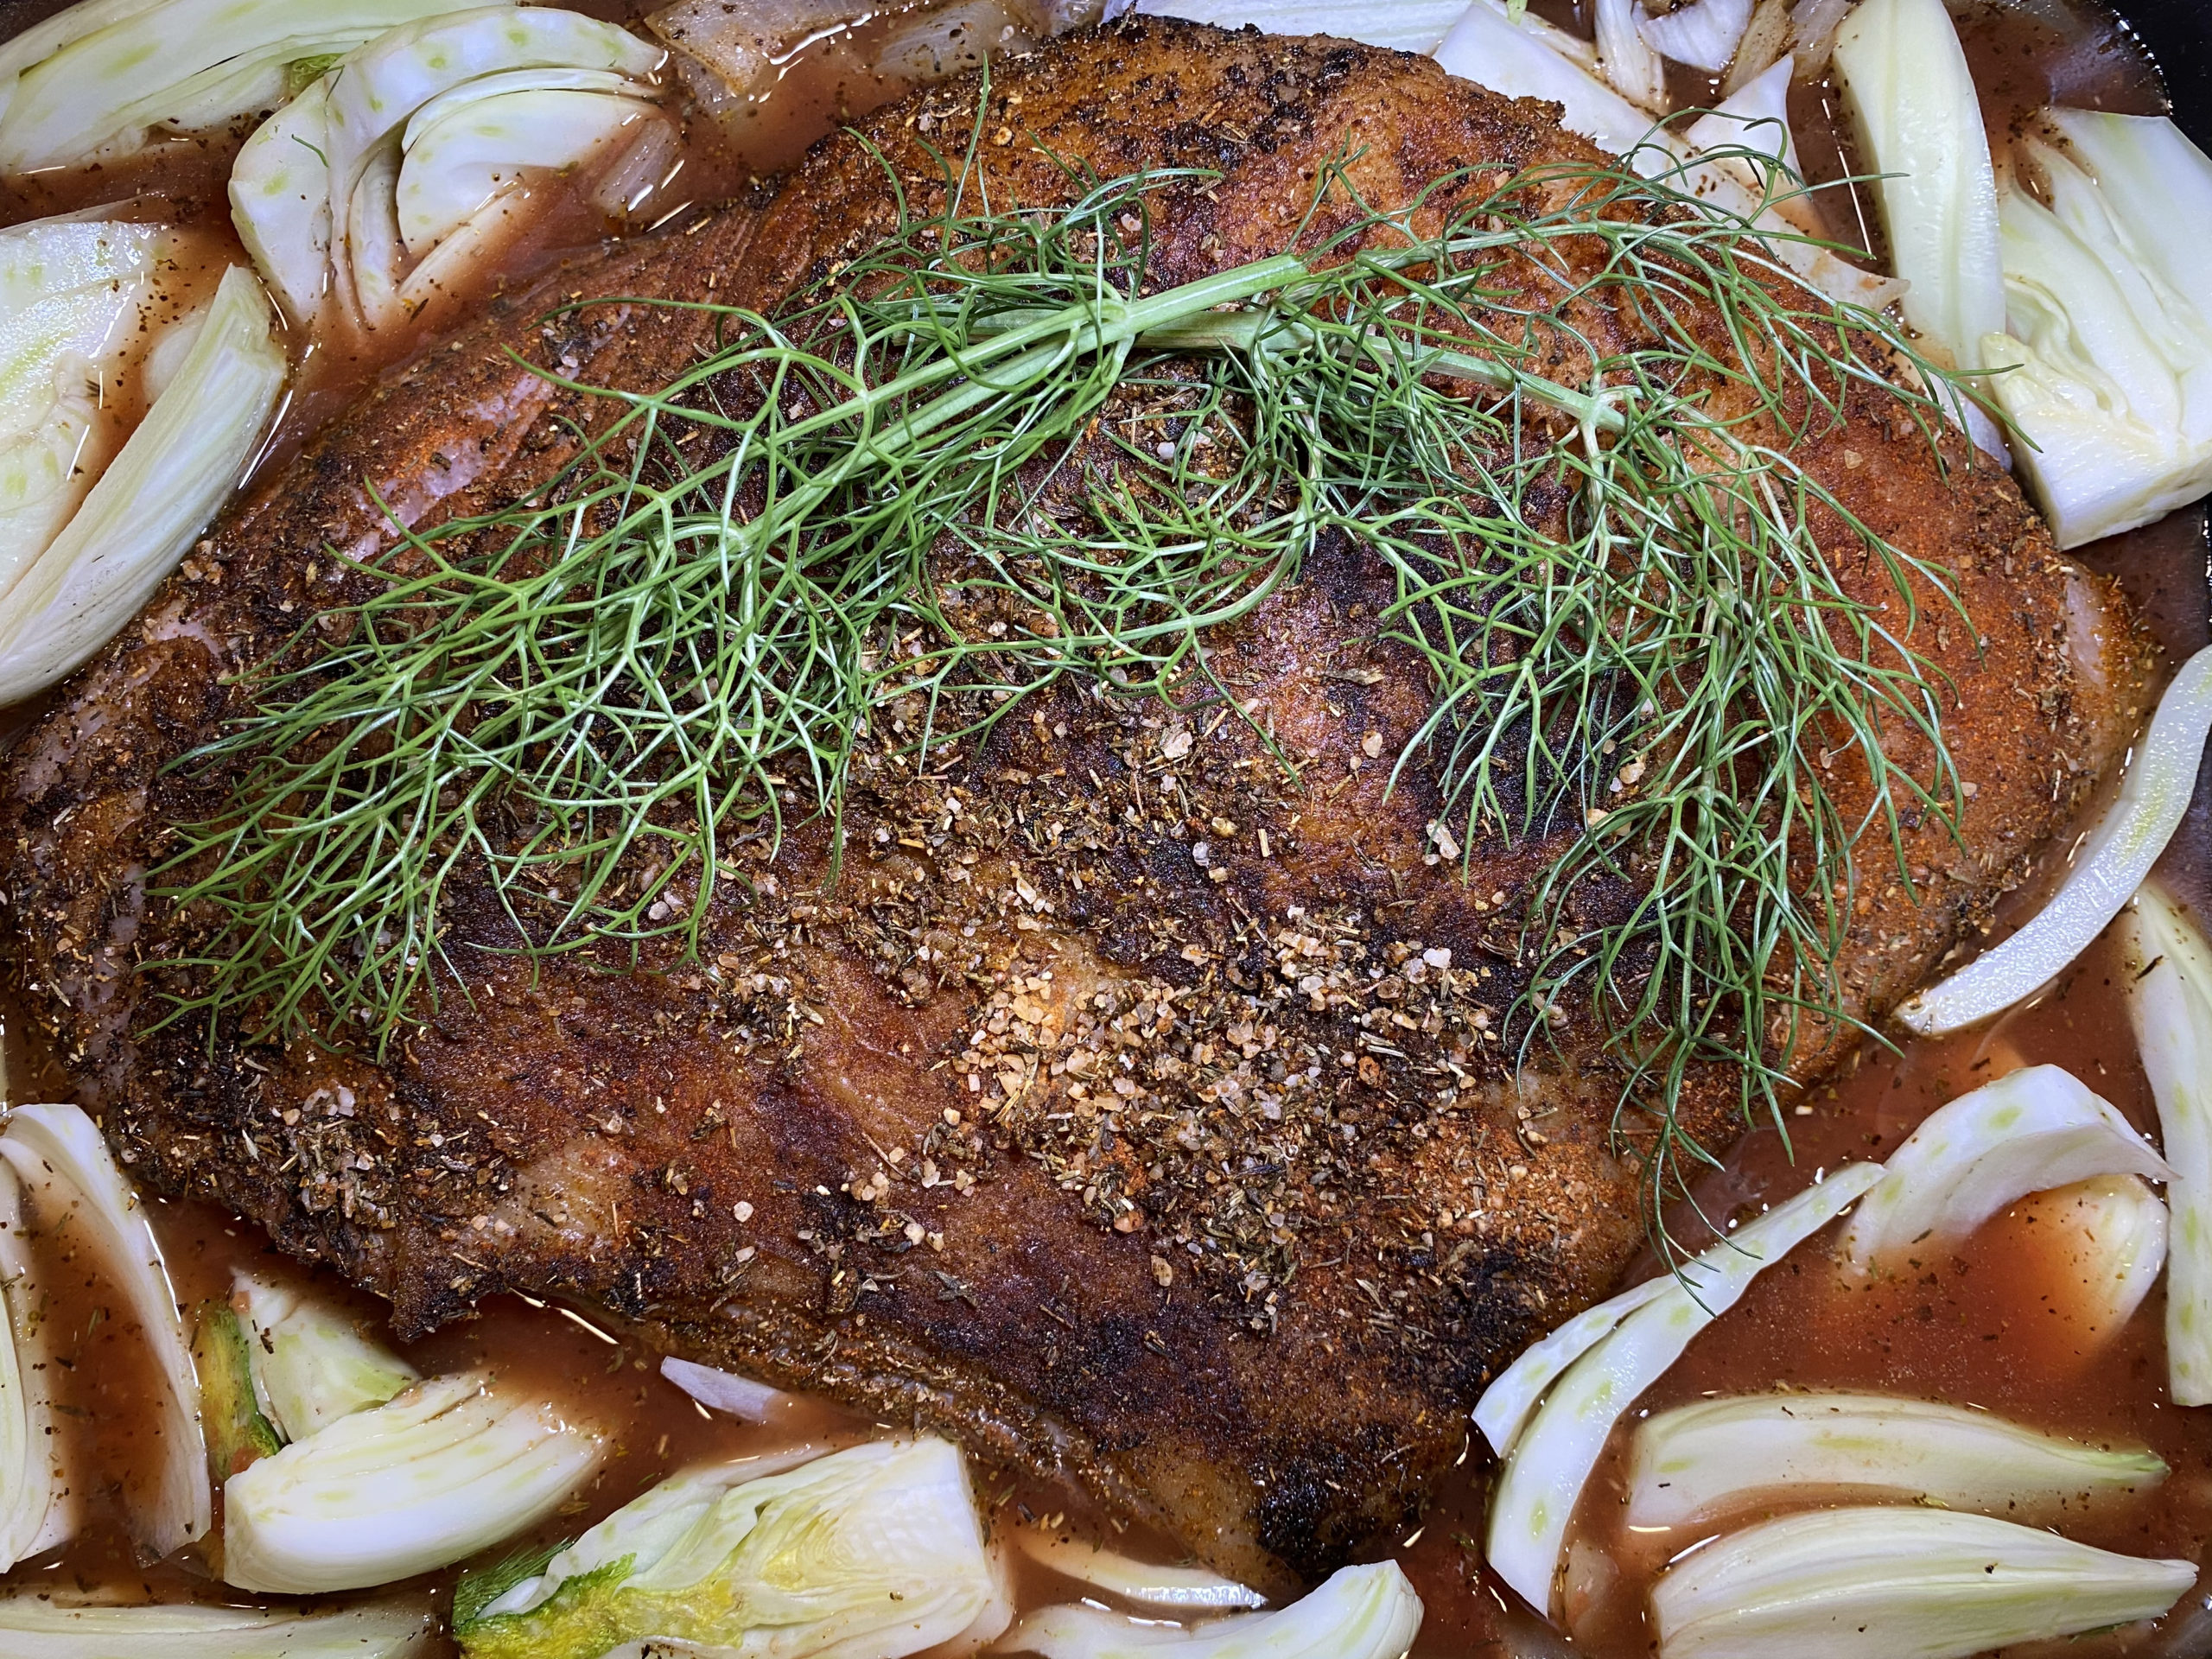
Add Allspice to onions, place brisket on top, pour in brining liquid, nestle in fennel wedges and bay leaves, then refrigerate overnight 
Prepare for liquid separation and carving while the brisket cooks 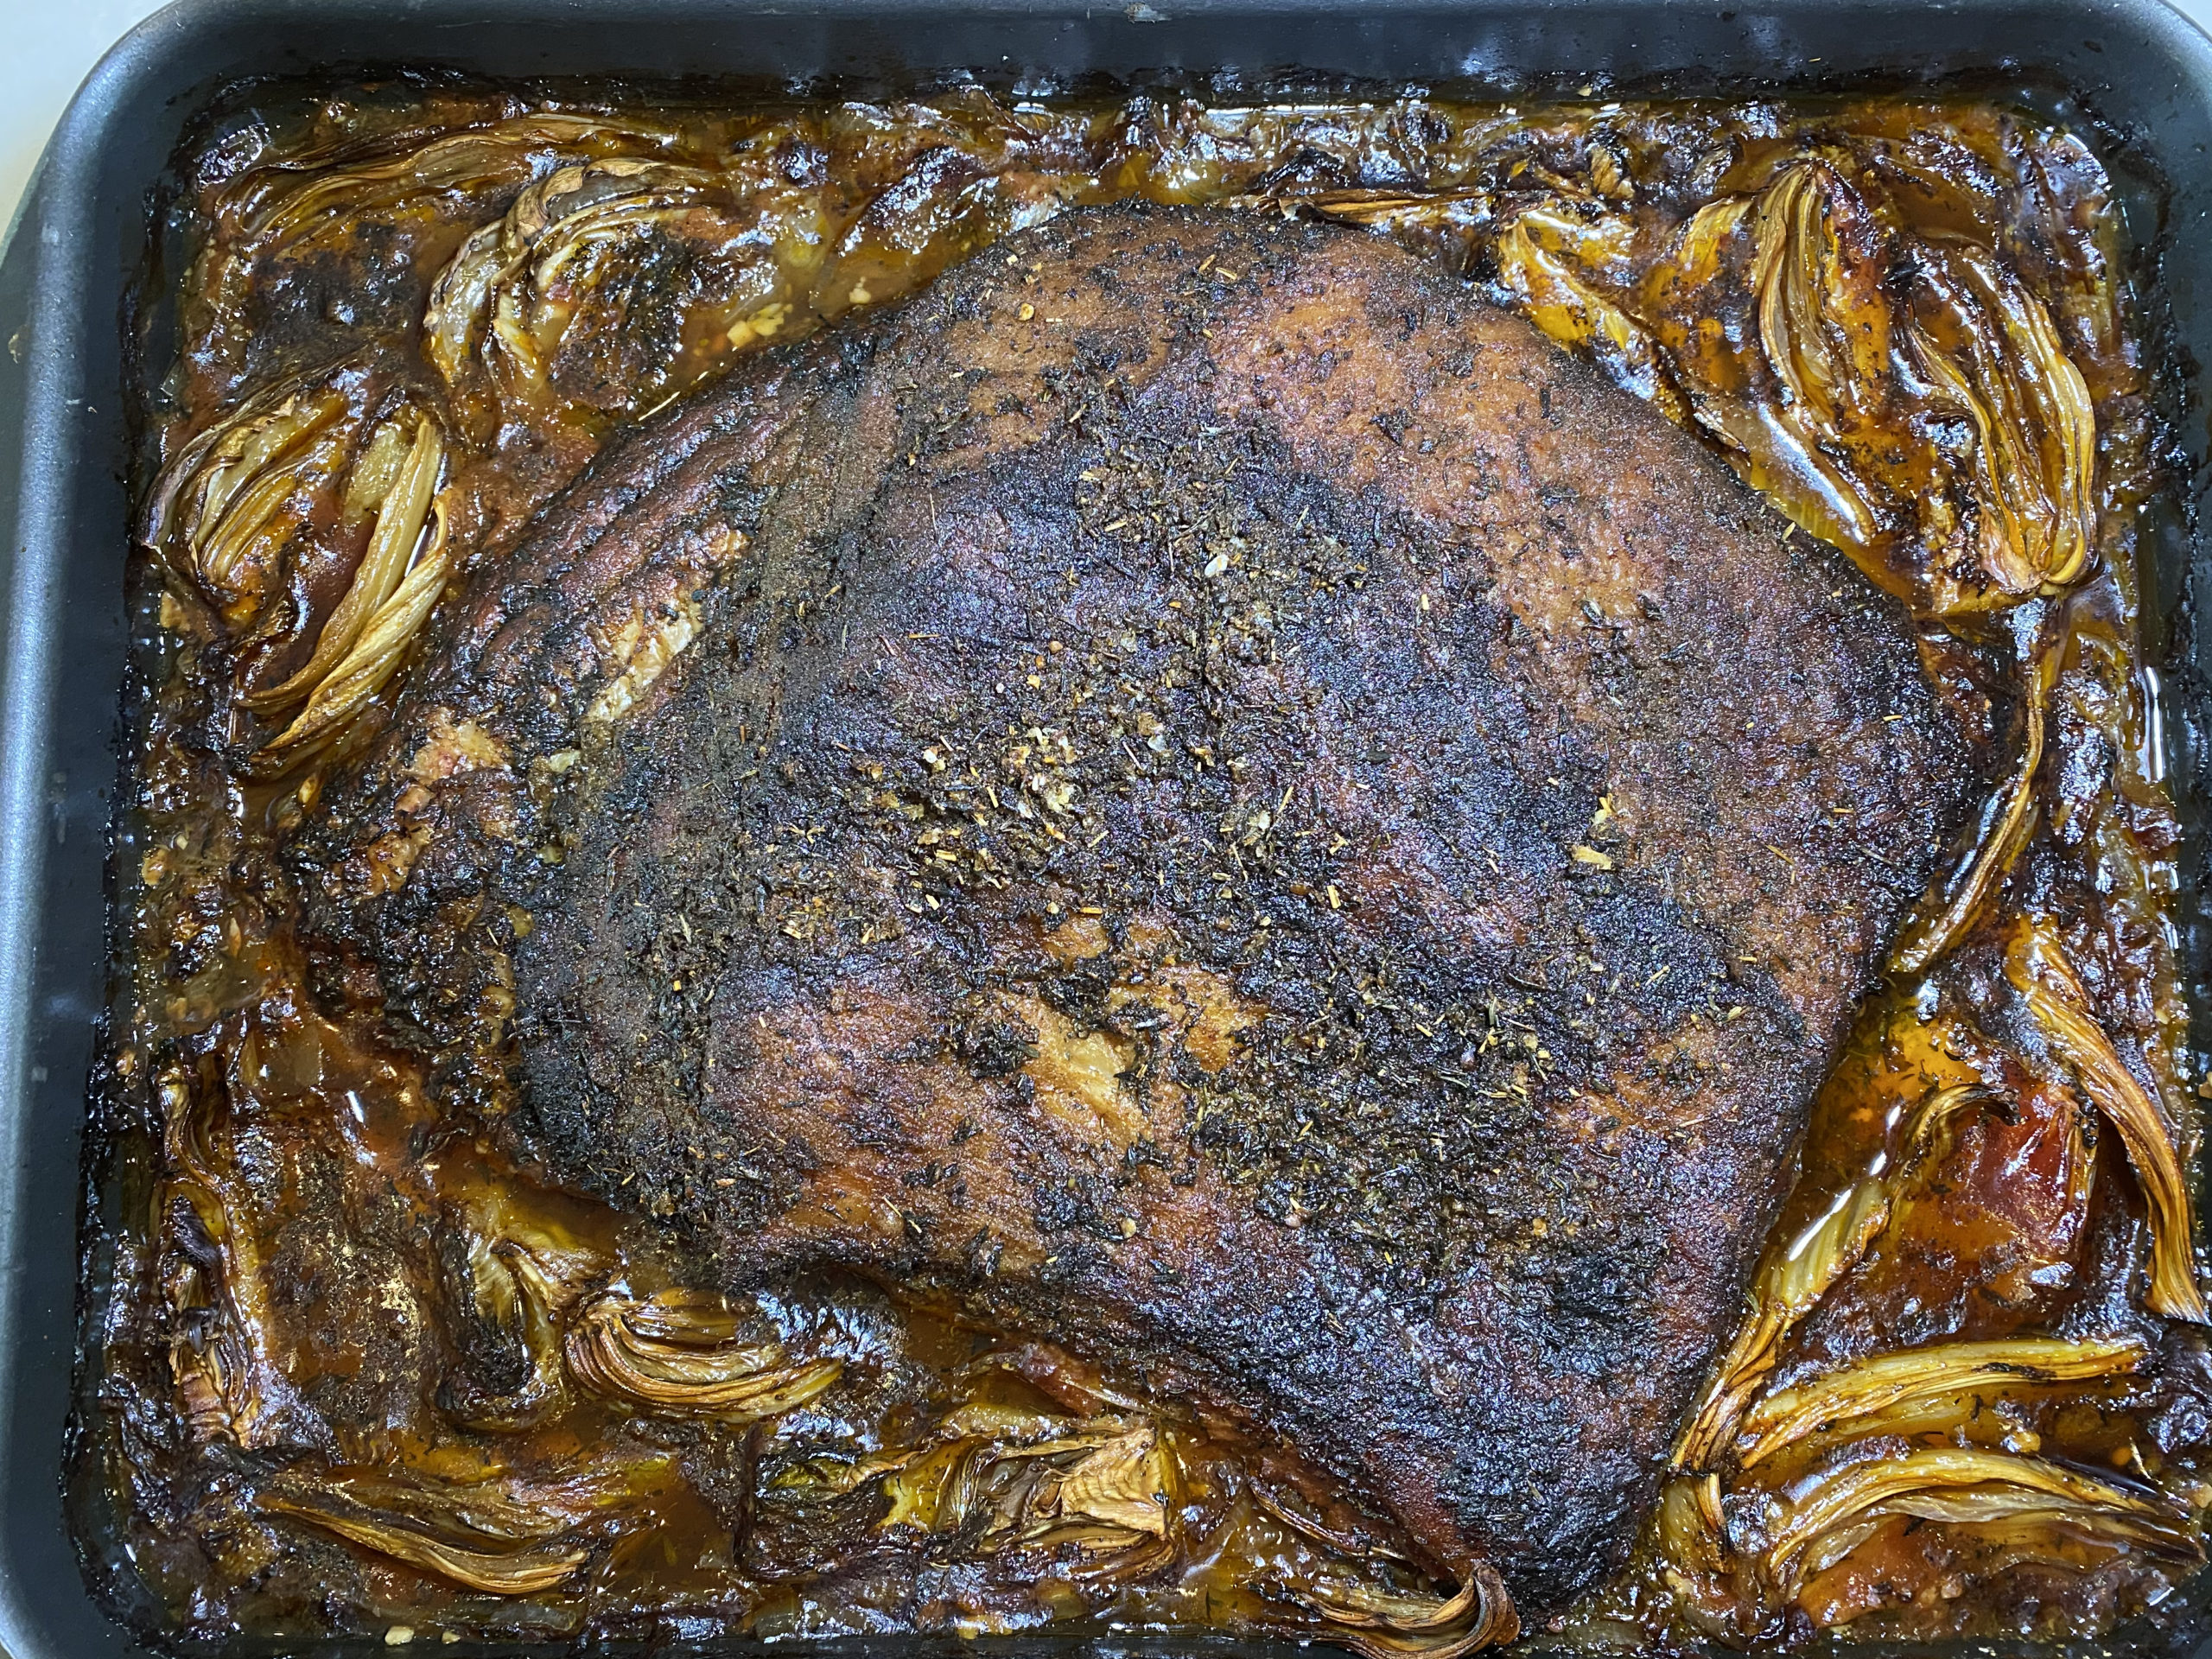
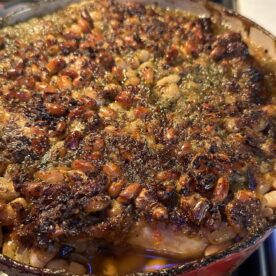
Cooking complete! 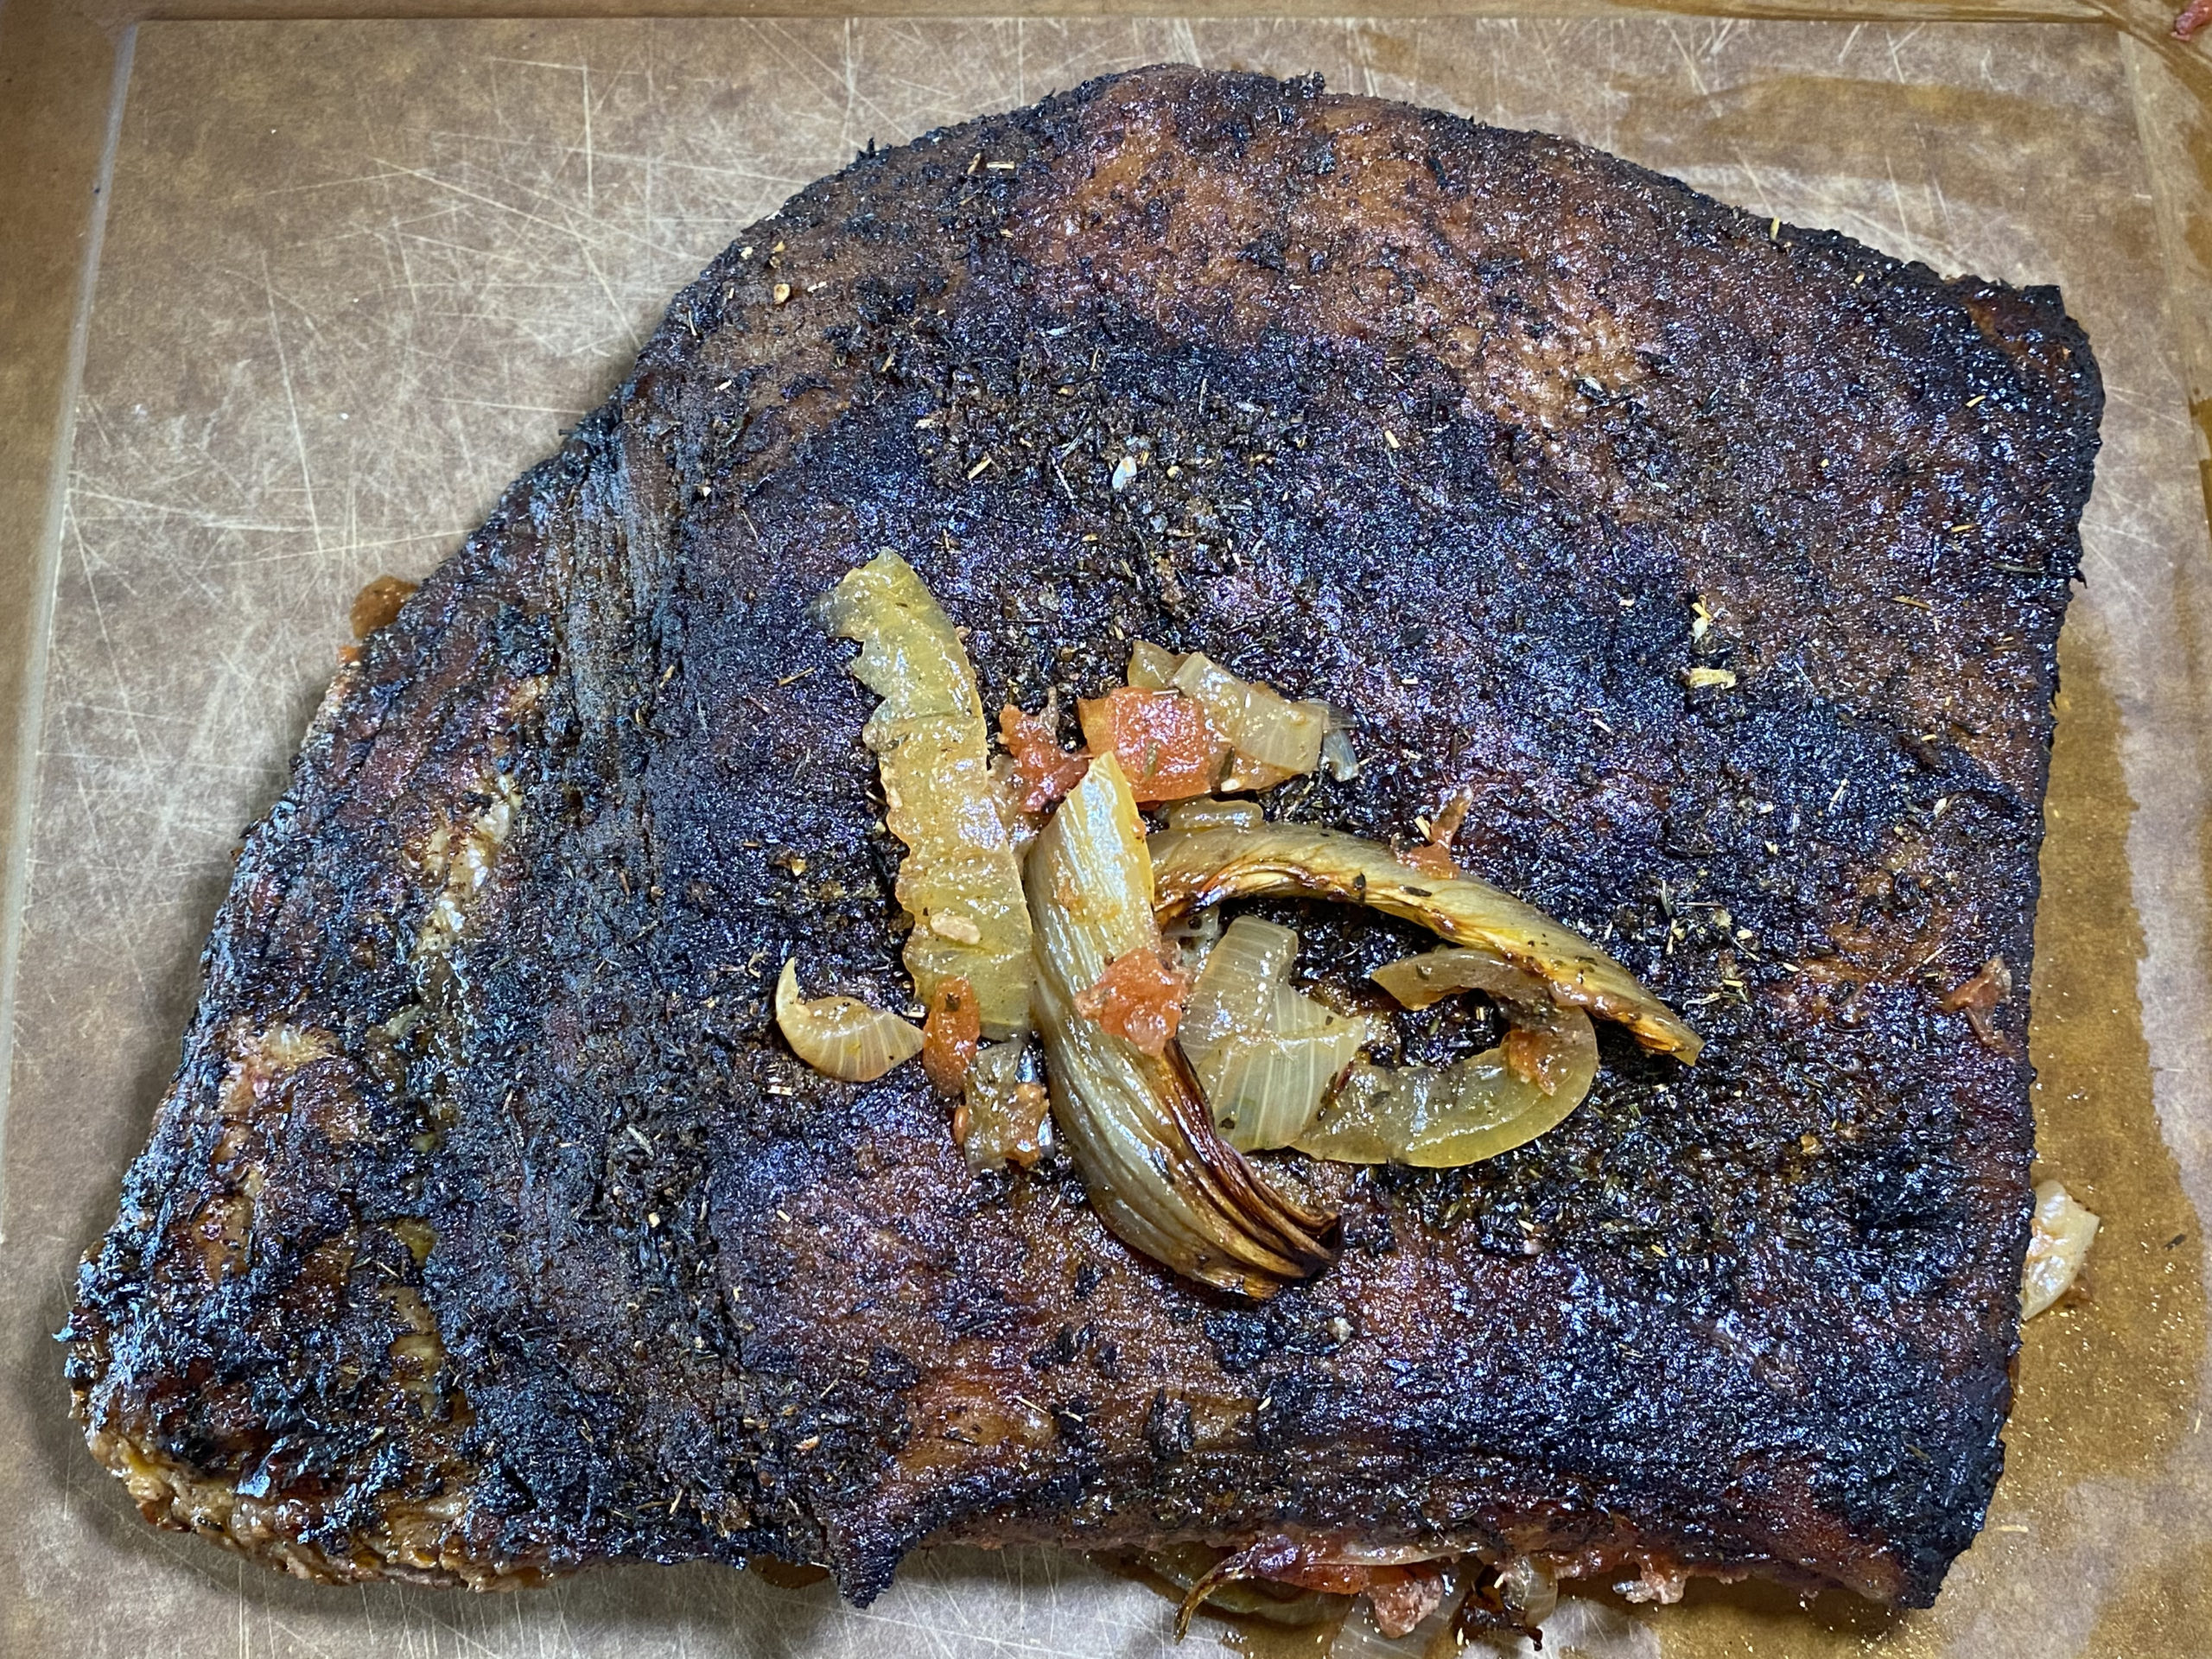
Carefully remove and rest on a carving board, cover with foil 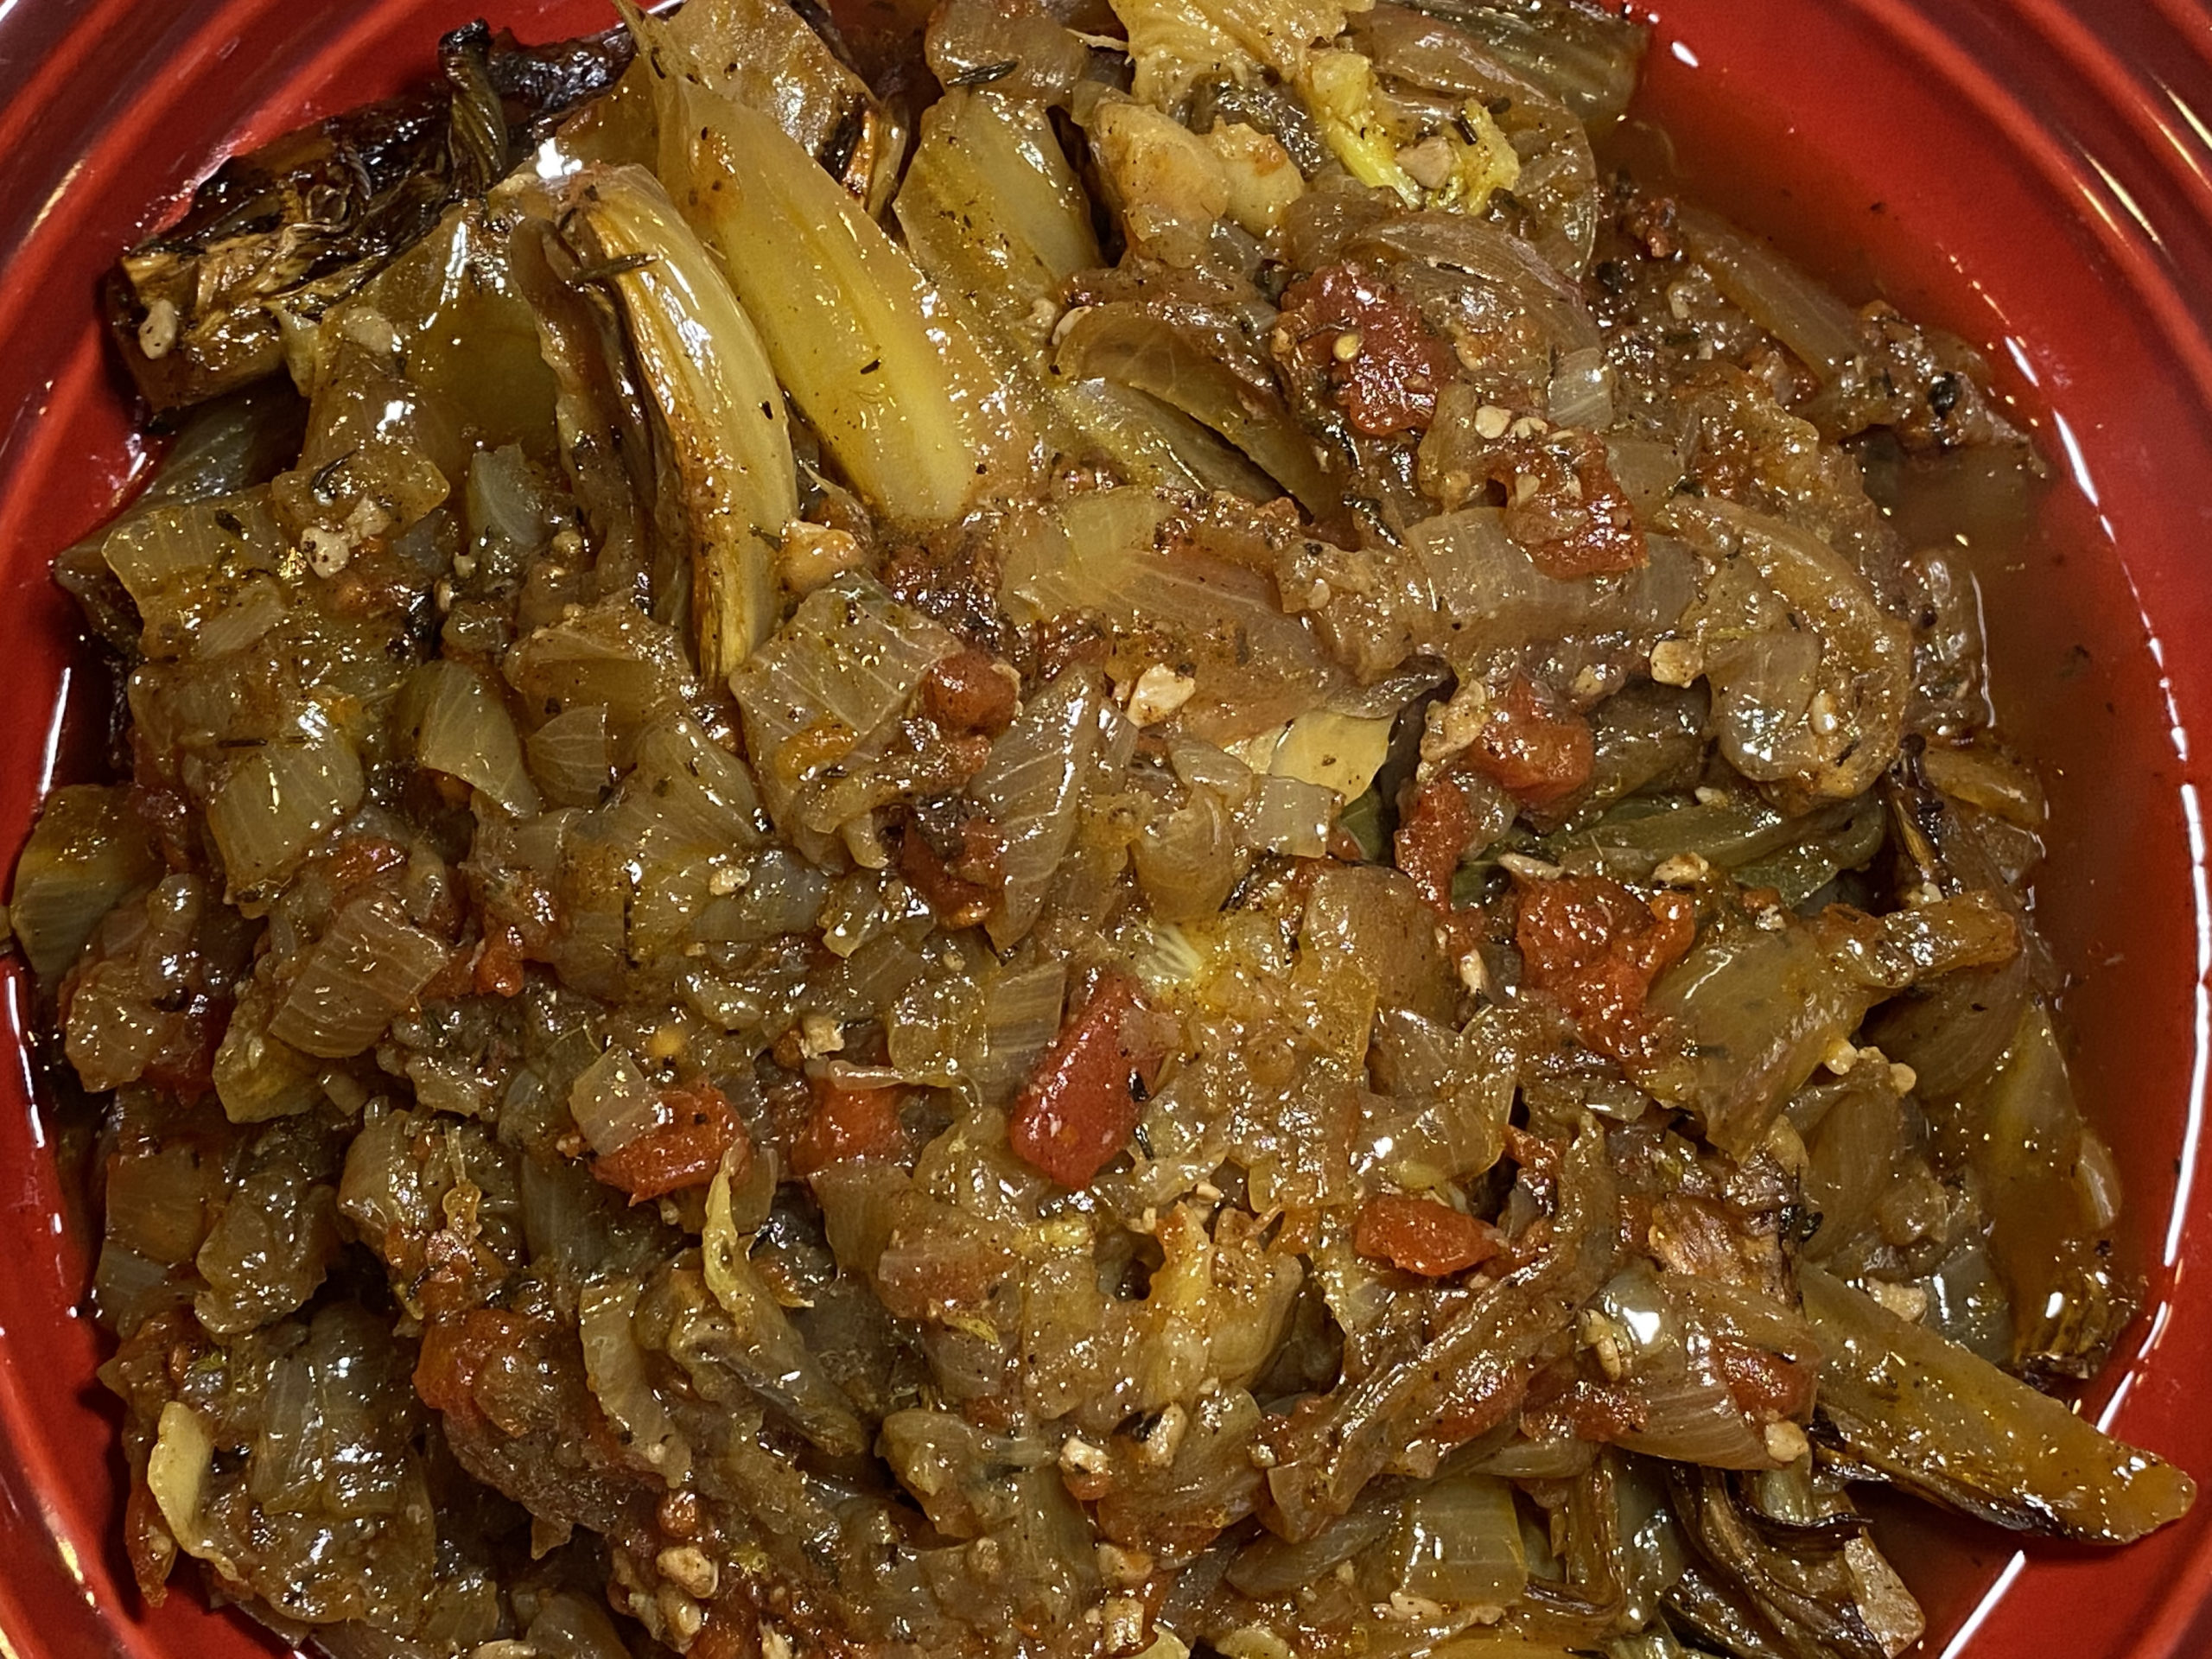
Strain vegetables and set in a serving bowl, cover with foil 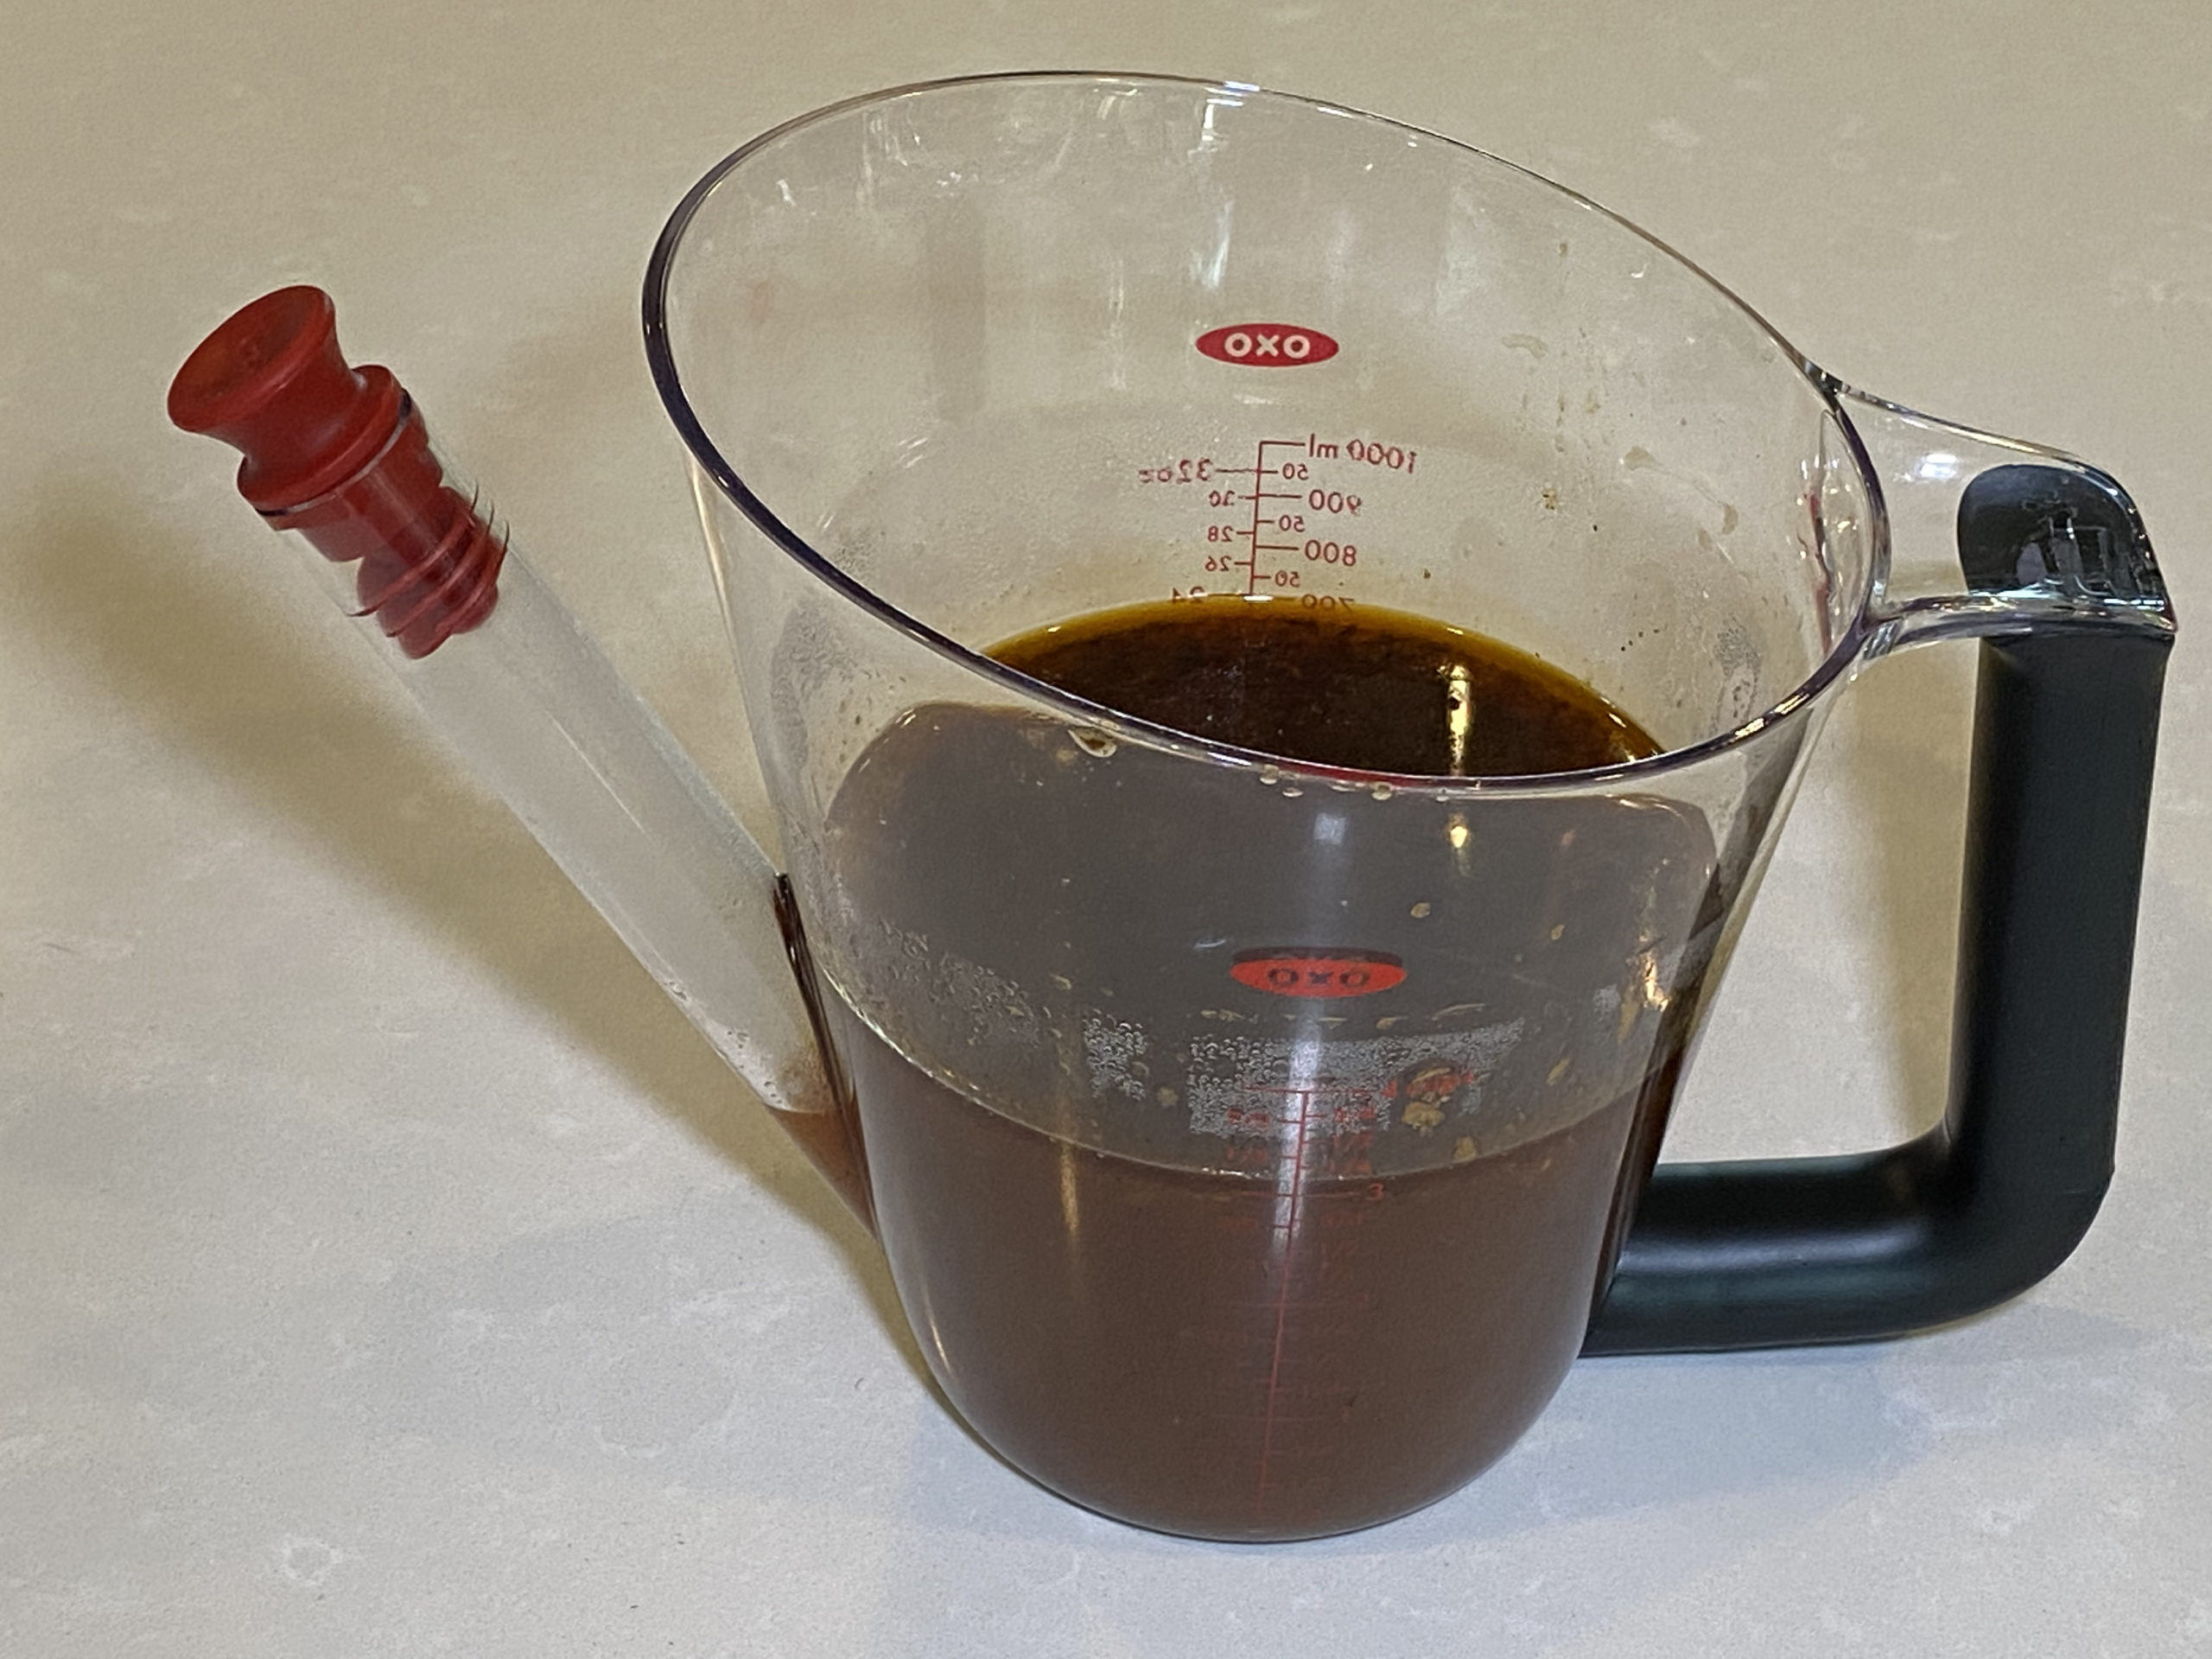
Separate jus from fat 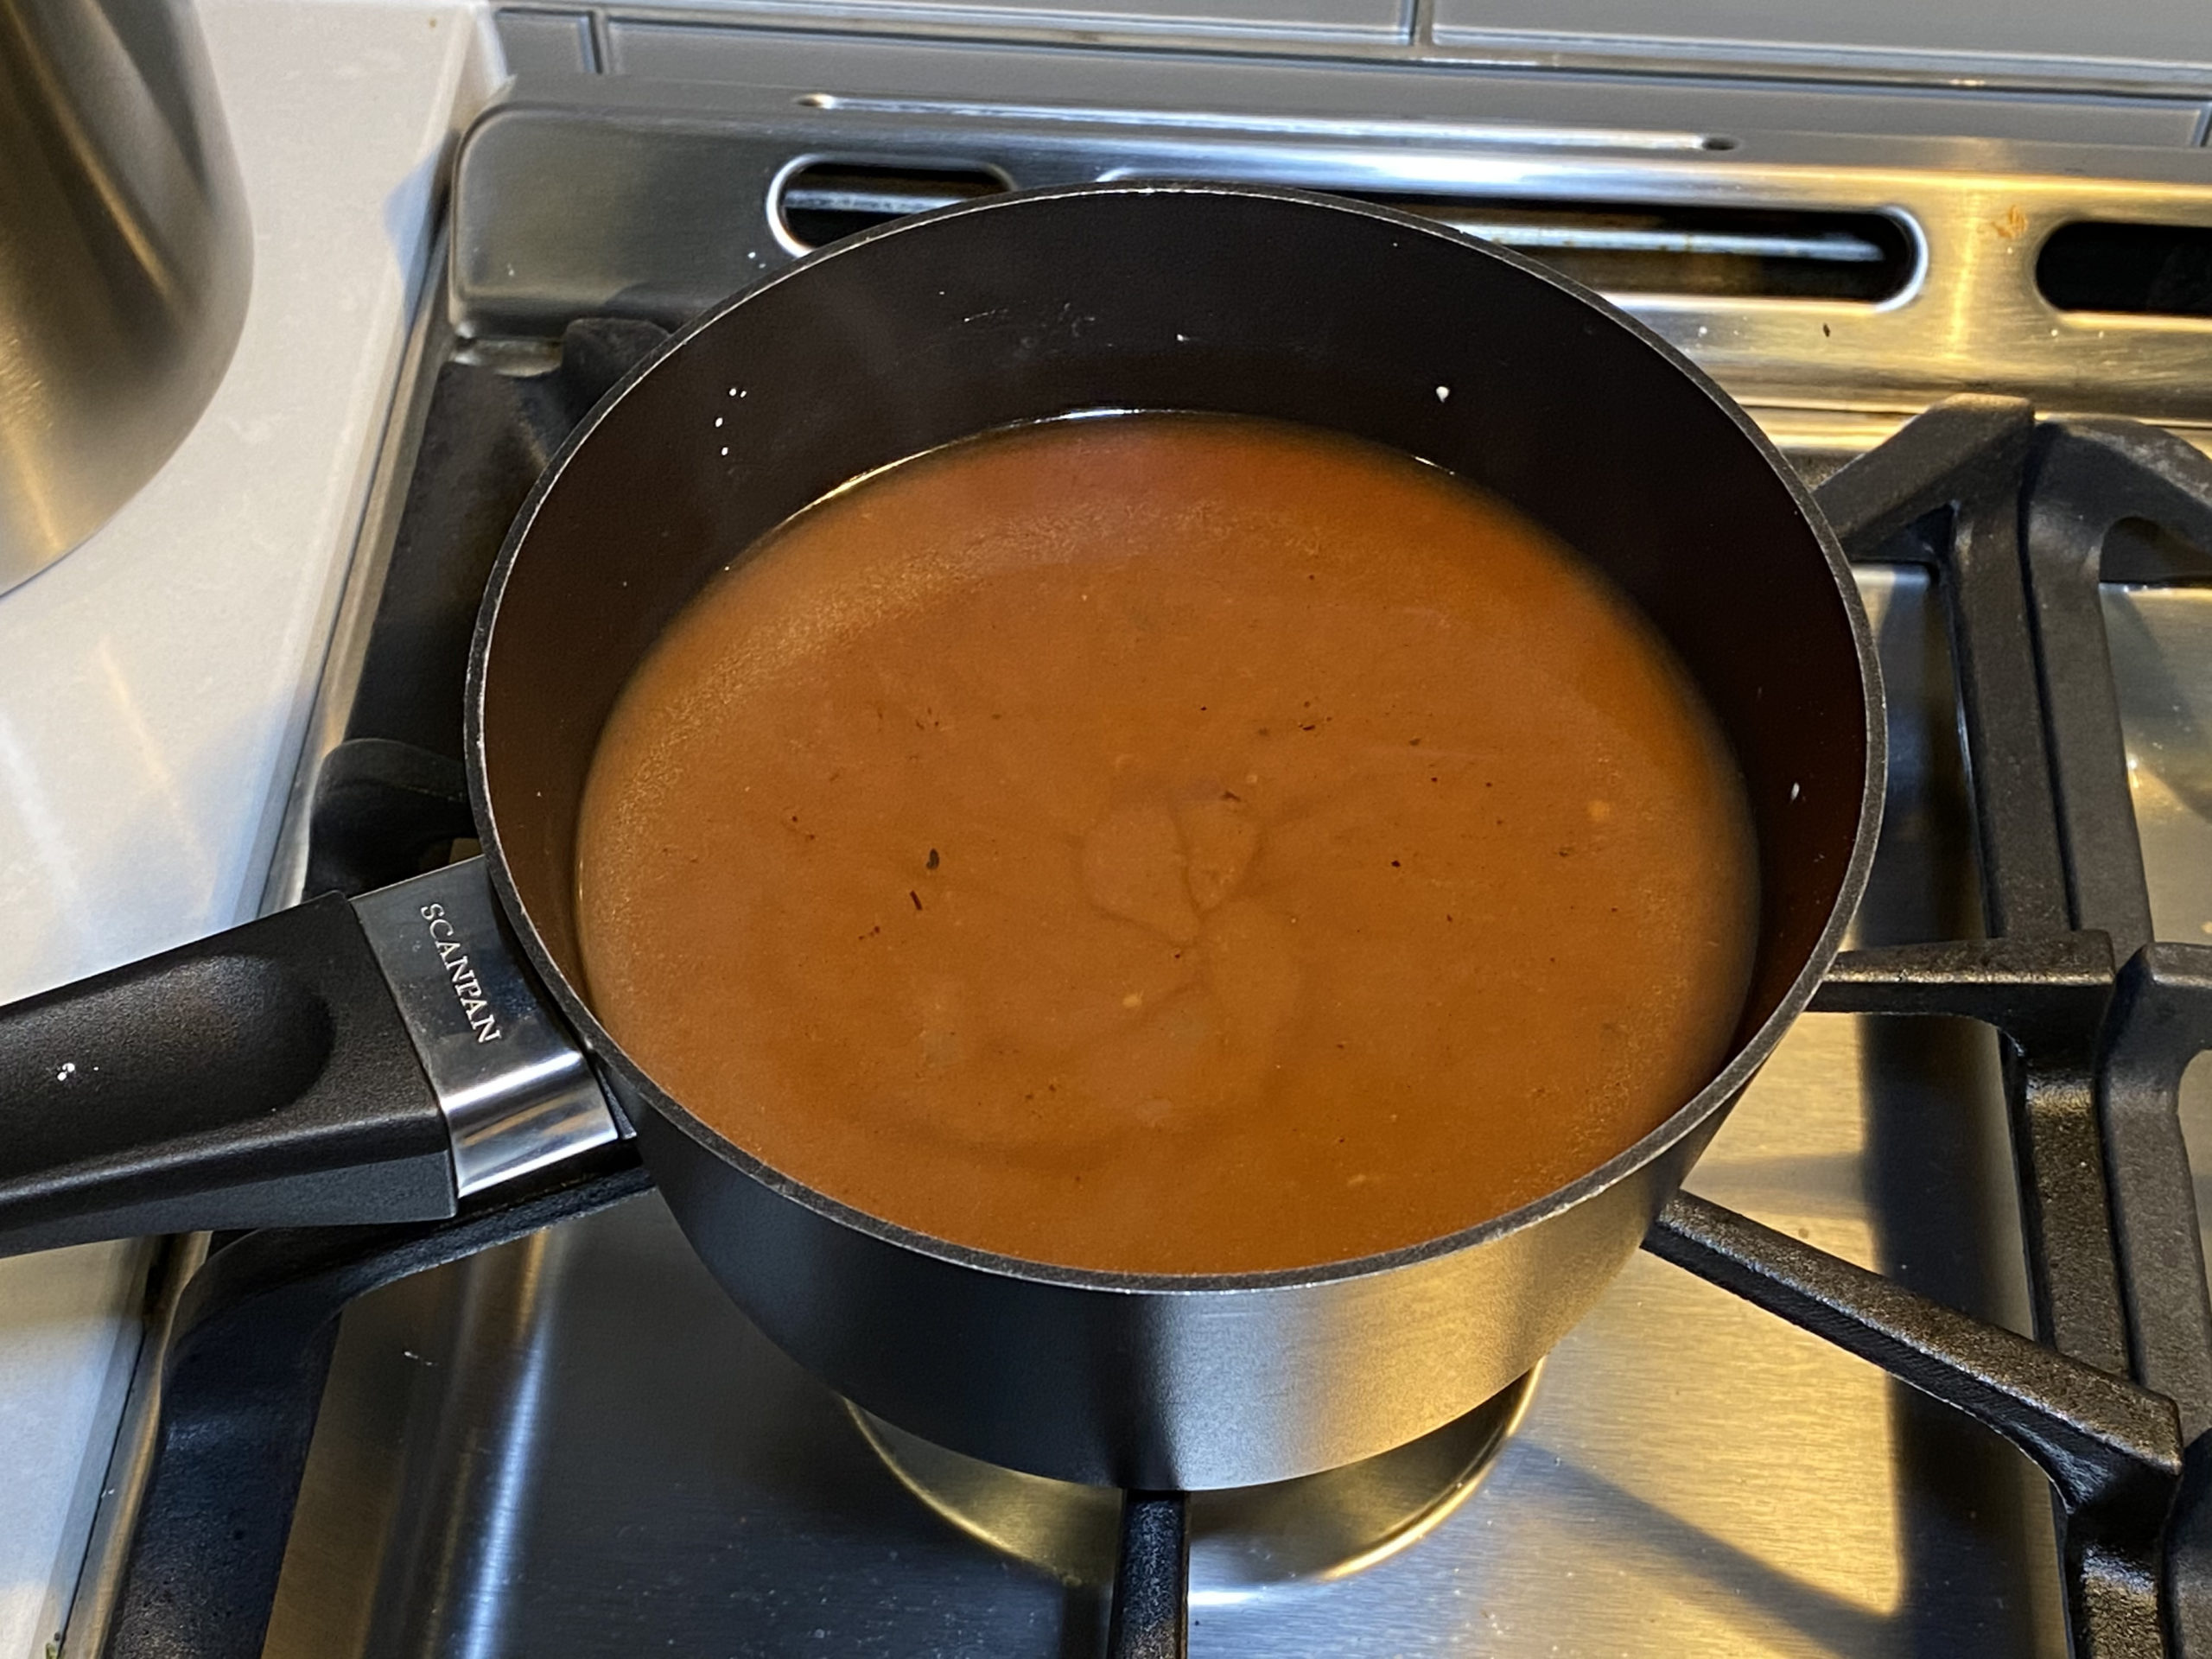
Simmer jus on stovetop, thicken with cornstarch as desired 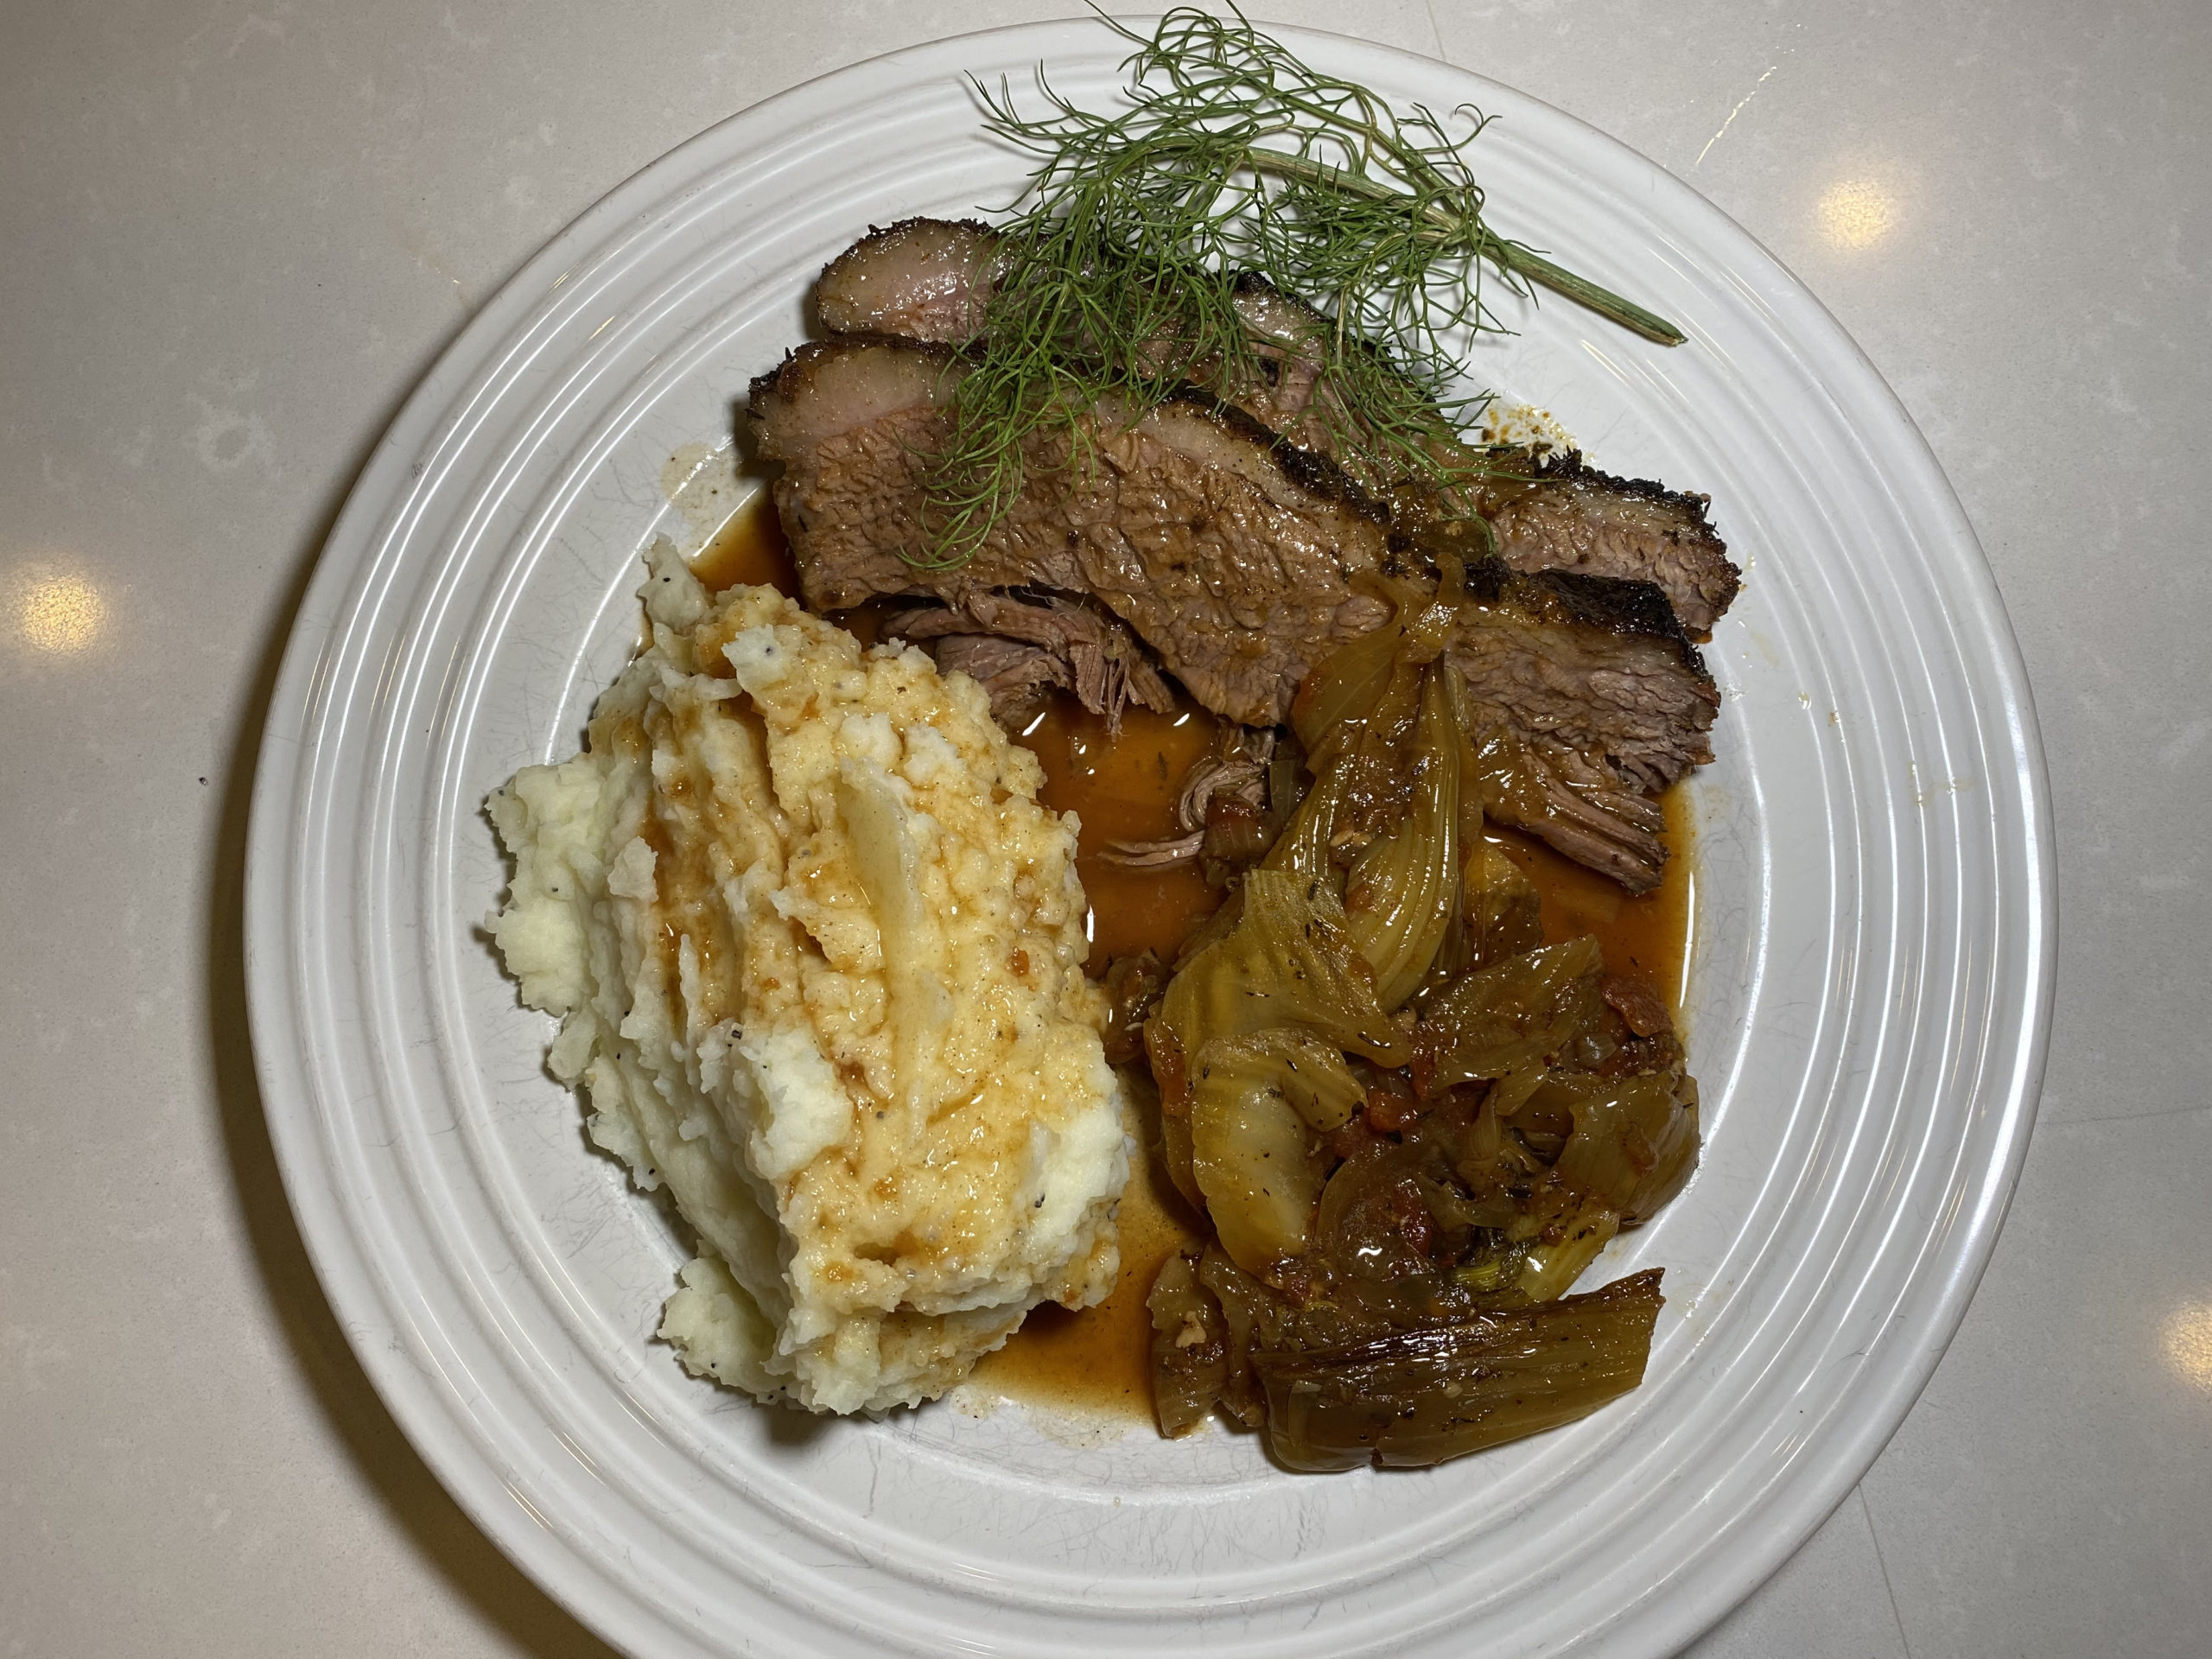
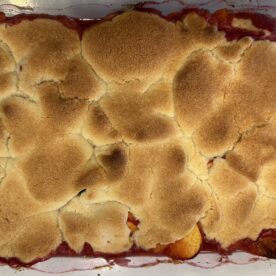
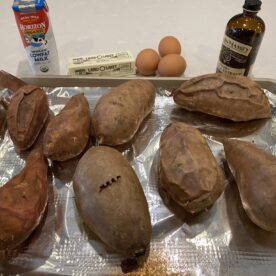
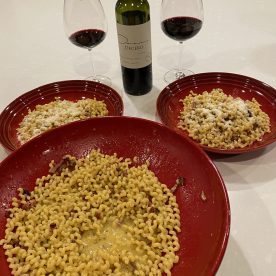
Paris well with Everything Mashed Potatoes
Ingredients
Meat
One 6 to 8 pound top cut or second cut brisket
Course French sea salt
Ground pepper
Rub
2 – 3 tablespoons smoked paprika
2 – 3 tablespoons dried thyme
2 – 3 tablespoons dried sage
1/4 cup olive oil
Onions and Garlic
2 medium yellow onions, sliced long
6 fresh garlic cloves, minced
Braising Liquid
1 to 1.5 cups of beef stock
1 to 1.5 cups crushed tomato
1 cup well-aged red wine vinegar
1/3 cup Lea and Perrins Worcestershire sauce
1 large fennel bulb cut like the onions (save the leaves to garnish)
1 small handful of whole Allspice
6 bay leaves
Special Equipment
Large fat separator (4+ cups). It helps to have one with a filter / grate on the top to catch and save the vegetables.
Trust me when I say you should buy a SCANPAN brand roasting pan for this recipe. It’s a roasting pan made in Denmark of pressure-cast aluminum with a ceramic-titanium nonstick finish. It is safe, can be used with any utensil, and requires literally zero cleaning other than a spray with a kitchen faucet. Nothing in the world sticks to it. Worth every penny!
Steps
Day One
Step 1 – Dry Brine
Remove the brisket from packaging, rub with French sea salt and pepper, pressing hard to grind the large, coarse salt crystals into the top layer of fat.
Whisk the paprika, thyme, sage, pepper, and another teaspoon of salt in a bowl to create the rub.
Work the rub onto the brisket, massaging it hard into the meat and top layer of fat.
Refrigerate completely uncovered in the SCANPAN, preferably on a rack that elevates the meat.
Day Two
Step 2 – Brown the Brisket
Remove the brisket from the fridge about an hour before browning. Remove from the SCANPAN and set on a carving board.
Heat up the canola or high-heat olive oil in the SCANPAN on a large stovetop burner, preferably a long center burner if you have one. Use a moderately high heat, like a 7 out of 10. Brown the meat well, 4 to 6 minutes per side. Check periodically to make sure the rub isn’t burning. Remove and set aside on the carving board to rest.
Cook the onions and garlic in the still-hot SCANPAN until nice and tender, about 15 minutes. Scrape the bottom to coat the onions with rub from the searing step.
Step 3 – Braising Liquid
While the meat is browning, combine beef stock, crushed tomato, red wine vinegar, and worcestershire sauce into a large pyrex measuring bowl.
Chop the fennel pods into long, skinny wedges, measure out the Allspice and bay leaves into a prep bowl.
Once the onions have cooled, drop in the Allspice then place the brisket on top. Pour in the braising liquid then nestle the fennel and bay leaves around the sides.
Return to the refrigerator overnight.
Day Three
Step 4 – Low and Slow
First thing in the morning, remove the brisket from the refrigerator and allow it to come to room temperature, about 2 to 3 hours.
Preheat oven to 300° and cook until the internal temperature reaches 140°. Cut back the temperature to 240° for the remainder of the 8 hours.
Remember braising takes 8 hours for a good sized cut PLUS 30 minutes of rest time before carving so subtract from your desired dinner time carefully!
Step 5 – Rest, Separate, and Carve
Remove from the oven, carefully remove the brisket from the pan, set onto a carving board and cover with aluminum foil.
Use a strainer to remove large chunks of vegetables, setting them aside in a serving bowl. Cover vegetables with aluminum foil.
Pour the liquid into a fat separator. Wait a moment for the meat jus to separate from the fat. Bring the jus to a simmer on the stove in a small sauce pan, adding corn starch to thicken (optional).
Enjoy!
I know the smell of roast has filled every corner of the house and your’e staving but make sure you let the brisket rest for 30 minutes.
Carve and enjoy!
Carving Notes: The brisket is made up of two different muscles: the point (skinny tip half) and the base (wide bottom half). The meat changes grain at this intersection. Since meat is always cut against the grain, start at the base of the brisket, cutting parallel slices until you get to the base of the tip. Here, slice the meat in half from the tip to the half cut (your last parallel cut in the base). Slice the reminder parallel from the tip to the half cut.
Pairs perfectly with Everything Mashed Potatoes and a well-aged cabernet sauvignon.
Leftovers can be kept in the refrigerator for 3 days or frozen with the vegetables and jus for up to 3 months.